Showing posts with label fix. Show all posts

Tuesday, August 16, 2016

Outer Wings (Part 4)

Continued from Outer Wings (Part 3)
With the plane upside down and wing reattached, I began by cutting the rest of my foam pieces to shape. It was during this process I realized that, during my fuel tank construction, I glued the bottom center section of foam incorrectly. By incorrectly, I mean that the foam was actually recessed below the airfoil shape for about half a square foot. I had problems fixing similar trouble spots before, but I've decided to try a different method with this area. I didn't take a before pic, but the after pic gives the general idea. The darker area is the low spot.


I decided to go ahead and sand the center section to the airfoil shape so I would have a solid understanding of where the foam was low. After that was accomplished, I traced and cut out a piece of foam 3/8" thick that was 3" smaller around the edges than the space that was low, and I glued that on. My next step will be to sand that to shape, then use micro to fill the outer band of the low spot, utilizing a straightedge while the micro is still wet to get a nice flat surface. This should work much better than my previous attempts, which were to glue foam over all of the low spot and sand it away. The problem was that the micro didn't sand as readily as the foam, and created high spots. 

With that figured out, I turned my attention back to adding foam over the rest of the bottom of the wing. Pretty straightforward, just make sure there's enough foam sticking up to sand away, and enough foam left after sanding that it won't flex after fiberglassing.


I came up with a simple (sort of) way to help hold long pieces of foam in place when they want to sag. First I cut off a piece of string about twice the length of the foam. Next I poked holes every foot or so in the foam I want to attach. The string gets secured at each end, by whatever means necessary. Finally, the string gets pushed up through each of the holes, then pulled until there's no slack. When you're finished, you've got plenty of string loops to help rearrange or secure your foam. I didn't end up using them to hold the foam in place, but they were very helpful for making small adjustments while the micro cured.

Top side:


Bottom side:

Saturday, June 18, 2016

Wing Walks!?

I've ordered and received a whole bunch of foam from Dynamic Systems (aka SunMate), which I chose as a crash safety measure as much as I did as a comfort aid. I've been cutting away and shaping, but I've gotten to a point where I need to be doing a lot of sitting in the seat and seeing if it's comfortable yet. Only problem is, the plane has no wing walks.... and as challenging as it was to get in the plane standing just on the rear spar, that was preferable to setting up a makeshift seating setup outside the plane. I decided, since I need wing walks eventually, I might as well get them knocked out now so I can get this seating stuff taken care of.

The previous builder had glued and shaped the foam for the top of the inboard wing, and laid what appeared to be one layer of FG on it. I didn't want to disrupt the shape of the wing, and I didn't want to completely start over, so I decided to try and add a wing walk structure without disrupting anything I didn't have to. First step was to flip the plane over and get a good look at the underside.

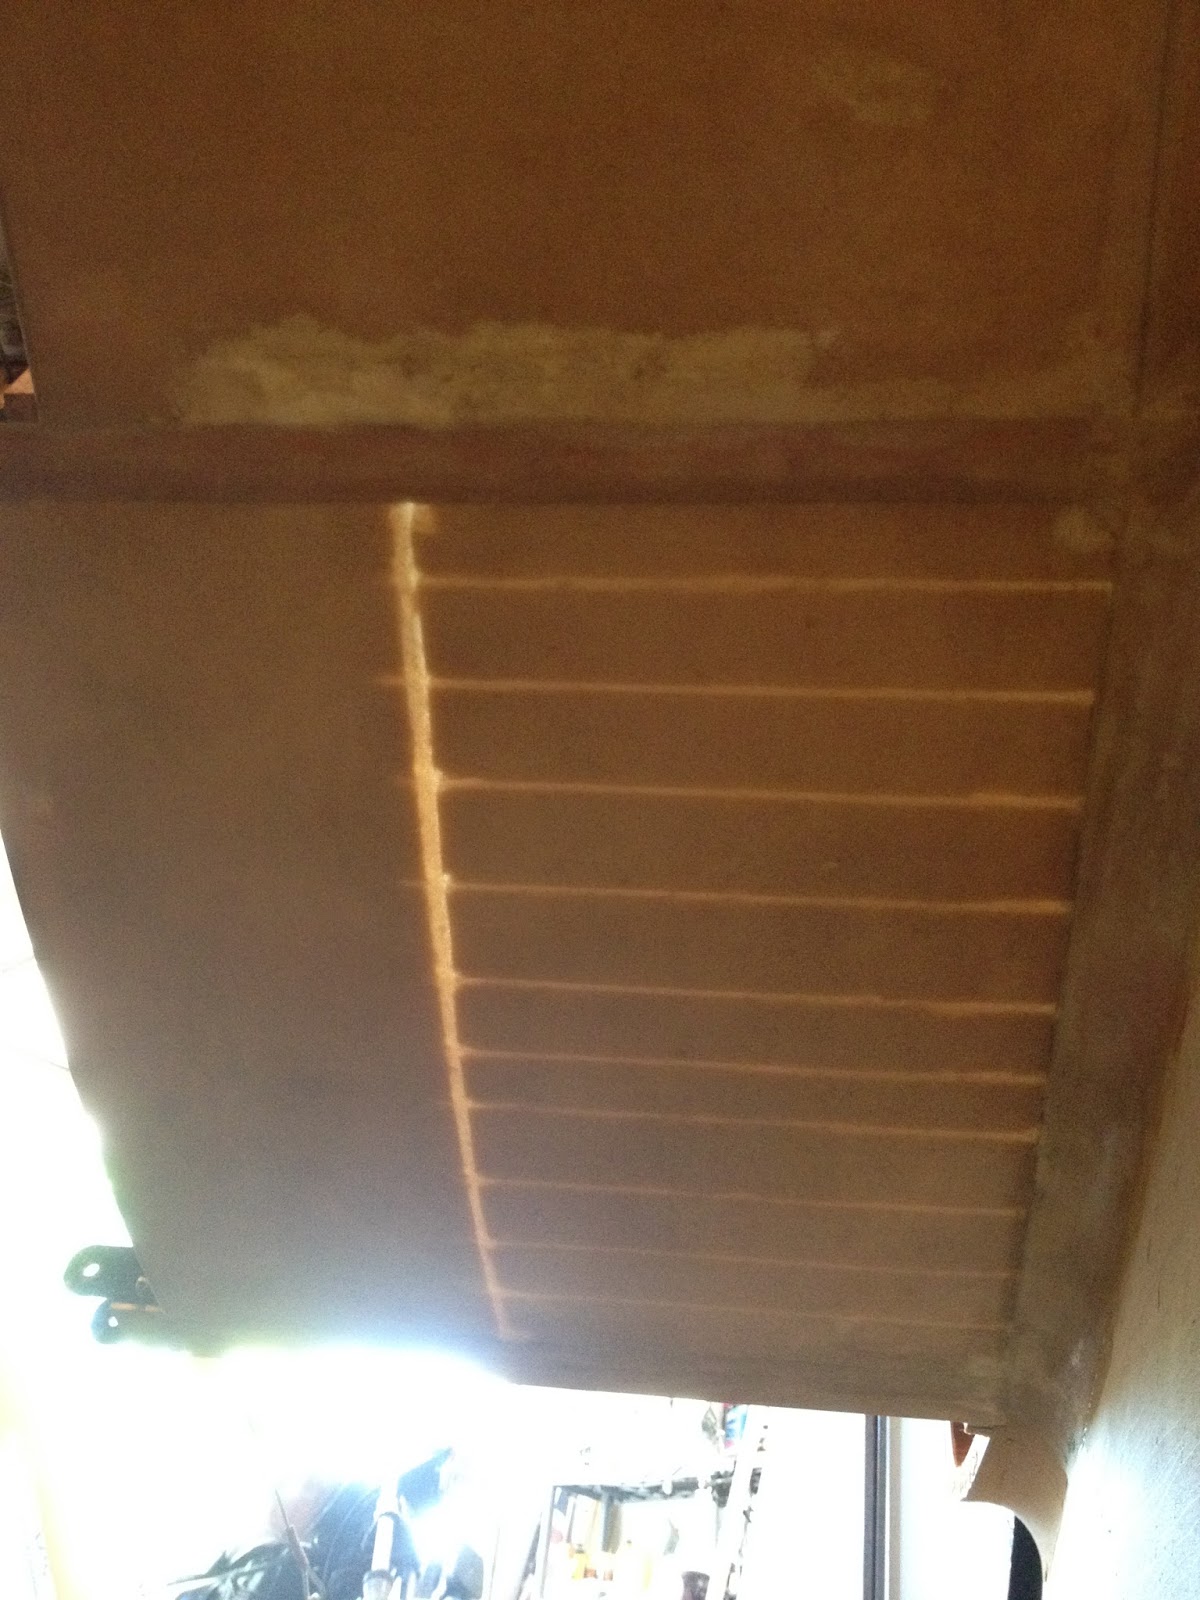
The previous builder had used a single sheet of 1" foam, and cut slits halfway through it about every 2 inches in order to allow an easy curve to the shape of the wing. This was about how far apart I wanted to put supports, so I started by using a razor blade to extend the slits all the way to the fiberglass skin. I made my wing walk 12" wide, and it runs from the front spar to the rear spar. I dug out the foam in the slots, then cut another slot for a support to run lengthwise from spar to spar. I used ⅜" a/c plywood for the long support, and 3/32" a/c plywood for the rest of the supports. All the supports are 1" wide.


The last step before epoxy(or so I thought...) was to cut slots in the foam for two ½" spruce blocks to (drastically) increase the gluing area for the ⅜" main support.

When I test fitted the supports, I noticed that my long stringer (which was cut very, very precisely to the airfoil contour) didn't touch the skin in a lot of places. As in, ¼" to ⅜" gap. A closer inspection of the wing showed the problem; the foam and fiberglass had sunk, or had been attached too low at the rear spar, and the wing shape was not preserved except at the two wooden templates. I had to think for a couple days to come up with a solution to that one, but I think I came up with a good one. 

I used my hot wire foam cutter and two wooden templates to cut two 12" wide foam templates, one for each side of the wing skin. The outside template I left long enough to rest on the spars, while the inside template I cut about 1" too short so it'd be able to easily drop in place once epoxy was curing. I used some highly sophisticated and carefully calibrated bracing structures (read: spare tires) to support the outside template and, once it was in place, I mixed up my epoxy with some micro to fill in gaps and started inserting all of the supports. Once the supports were all in place, I placed the inside template (with plastic trash bag to isolate it from the epoxy) on the wing, and added a good amount of weight.


When I came back the next day, I was *very* happy to find that the setup had worked perfectly. My wing was now the shape it should've been (or, much closer to it) and the supports were all in place and holding. I mixed up more micro/epoxy and filled more gaps, then laid up two layers of FG and placed them over the structure. Although I'm not sure it was entirely necessary, I repeated the process of weighting the template over this to make sure it all cured with the right shape.


I did the other side the same way, and although the previous builder cut a few more slots in the other side, the results were similar:


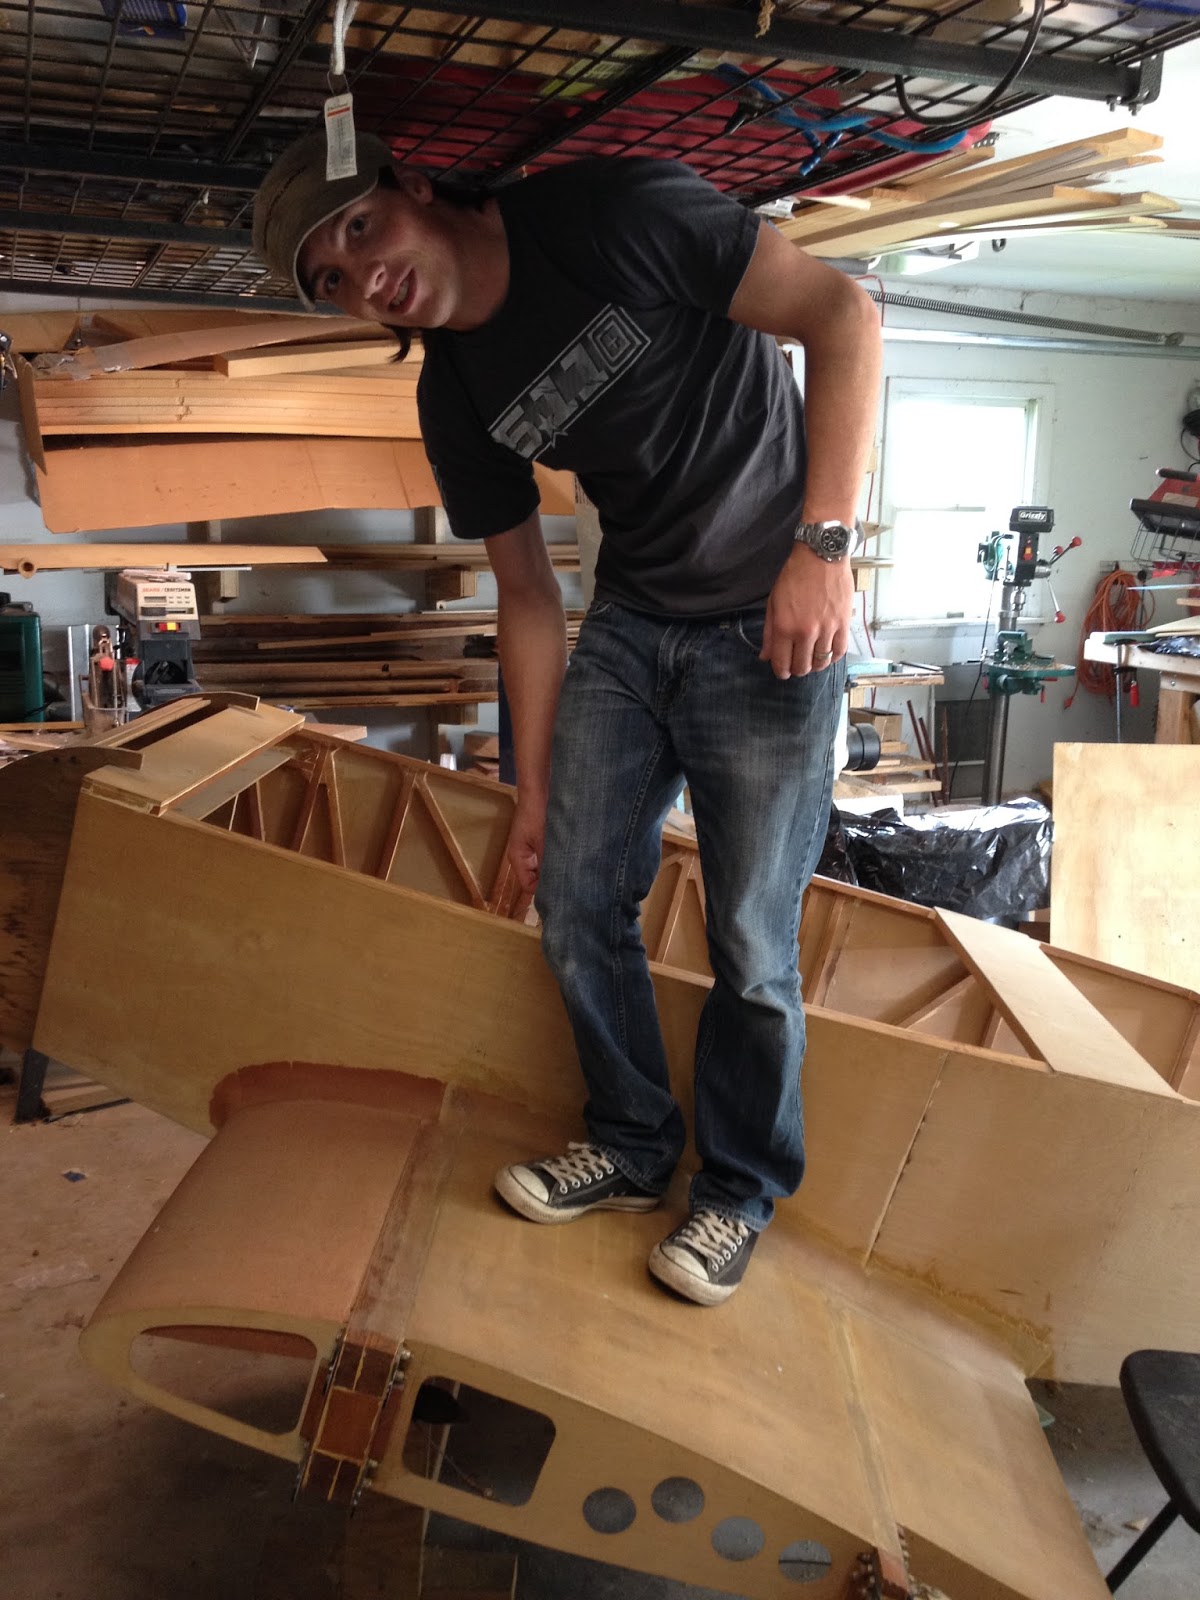
The final result was solid. I'll be adding one or two more layers of FG to the top of the inboard wing, but it's already strong enough for me to stand on unsupported with no perceptible give. I'd call this a success.