Showing posts with label valve springs. Show all posts

Wednesday, August 15, 2018

Whoops... This is a new problem!

Ok, ok, it's not really a problem... at least, it's not a mistake or a roadblock or a money pit kind of problem. The last few weeks have been pretty good - I finished assembling my heads,


made a plate for bolting the cylinders on to check deck height for each piston/cylinder set,


(btw, this gave me wacky results - I had to remake the plate to cover *both* cylinders at once, the same way the head will when the engine is assembled)


(Again, not like this.) and then made a new two-cylinder capturing plate and measured deck height at final torque.

Deck heights were all pretty darn close - I had a spread of 0.1997", 0.122", 0.1225", 0.125". Because I have a lathe handy, I was planning on chucking up the pistons and dusting them all perfect - but after doing the math, I realized that by arranging the heads correctly, my compression ratio would range from 7.976:1 to 8.021:1. In other words, a maximum difference of 0.045:1......... I think that's close enough!

I went ahead and painted the cylinder numbers on the case according to convention, and then marked the cylinders and pistons accordingly.


Since I wanted the heads on certain sides, I went ahead and marked them as well.


The last thing I have to do on the engine for now is bag everything up - each head will get a bag, each piston/cylinder will get a bag, and the block will get a bag. I don't want to have to carry the assembled engine up out of the basement when we move in a few months, so I'll just leave it in pieces until it's in a shop that's on the ground floor. After that, I'll assemble it and bag it again, until I need to take more measurements off it or am ready to attach it to an airplane. So what's the problem, you ask? Well, this engine has been about the only thing I can do related to my plane right now. Every couple weeks we travel to see the rest of my family, and I can sneak away for a few hours to work on the plane when we're there, but otherwise it's just me and the engine. Now that I'm mostly done with that, I'm not sure how I'll keep making progress... and if I'm not making progress, I'll drive my wife over the edge. :)

Thursday, July 26, 2018

Getting Ahead

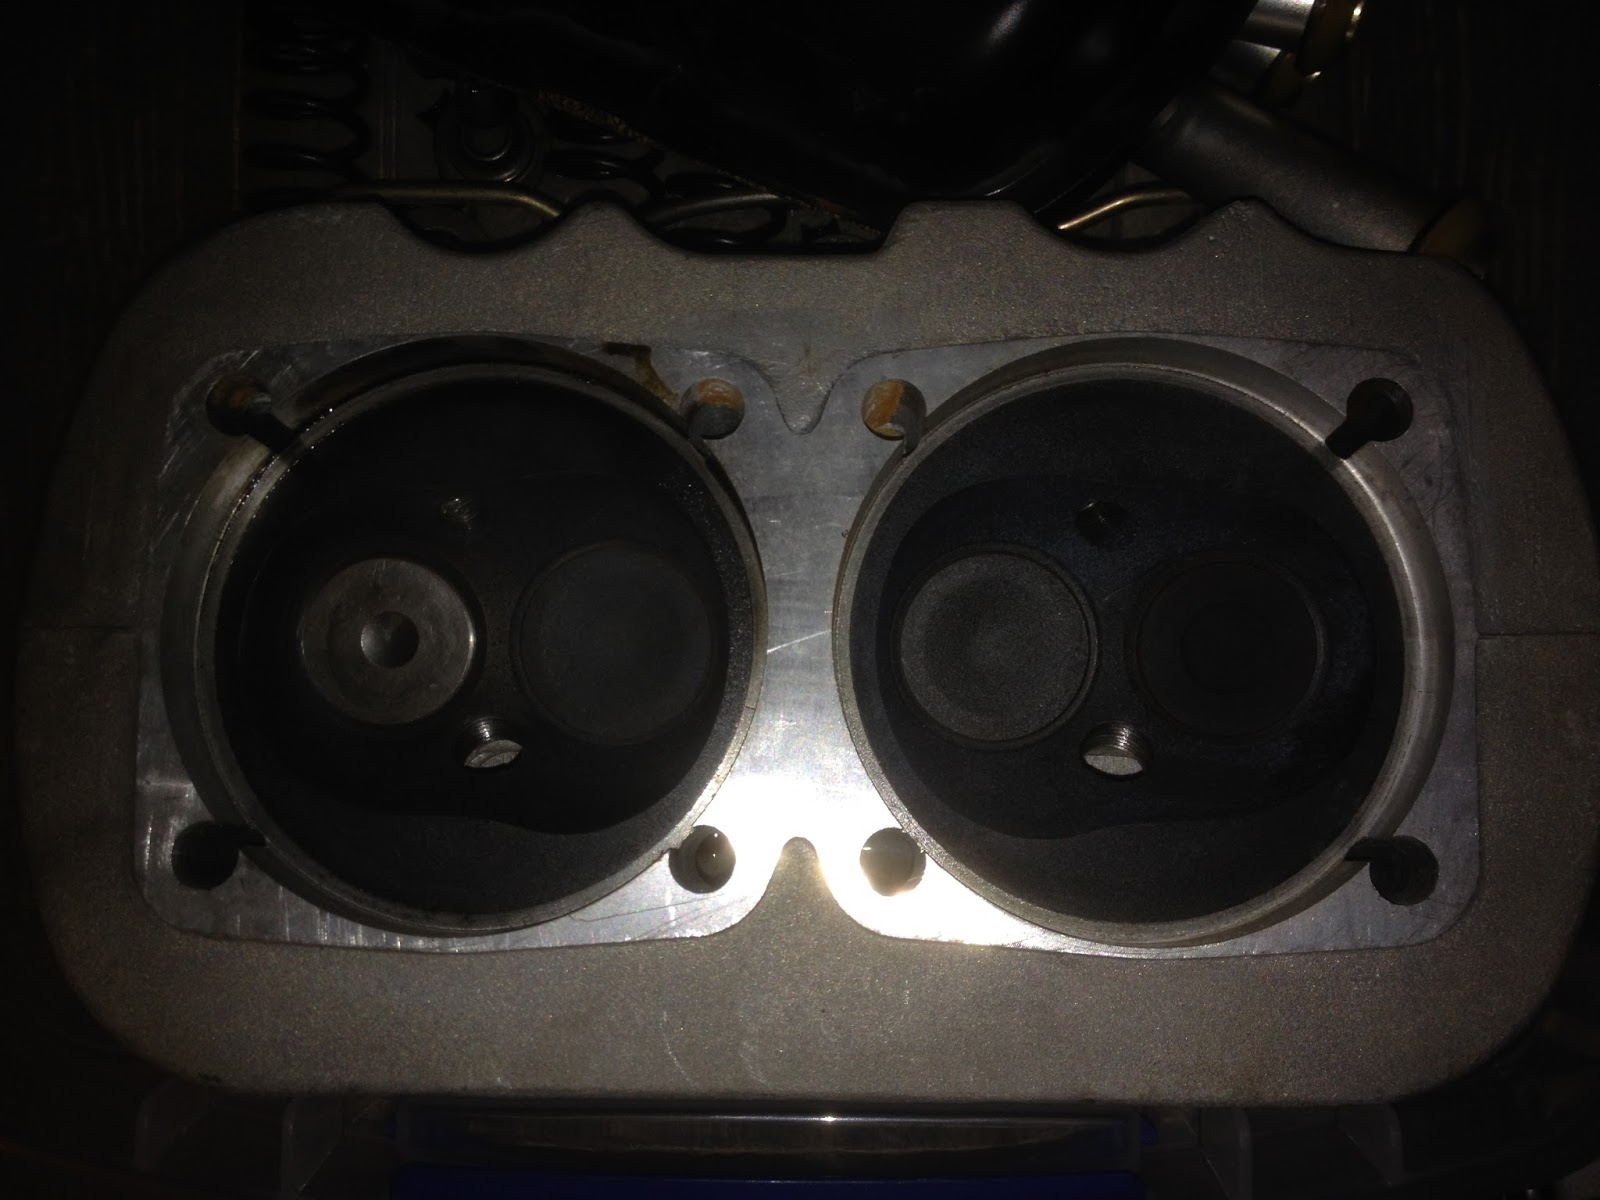
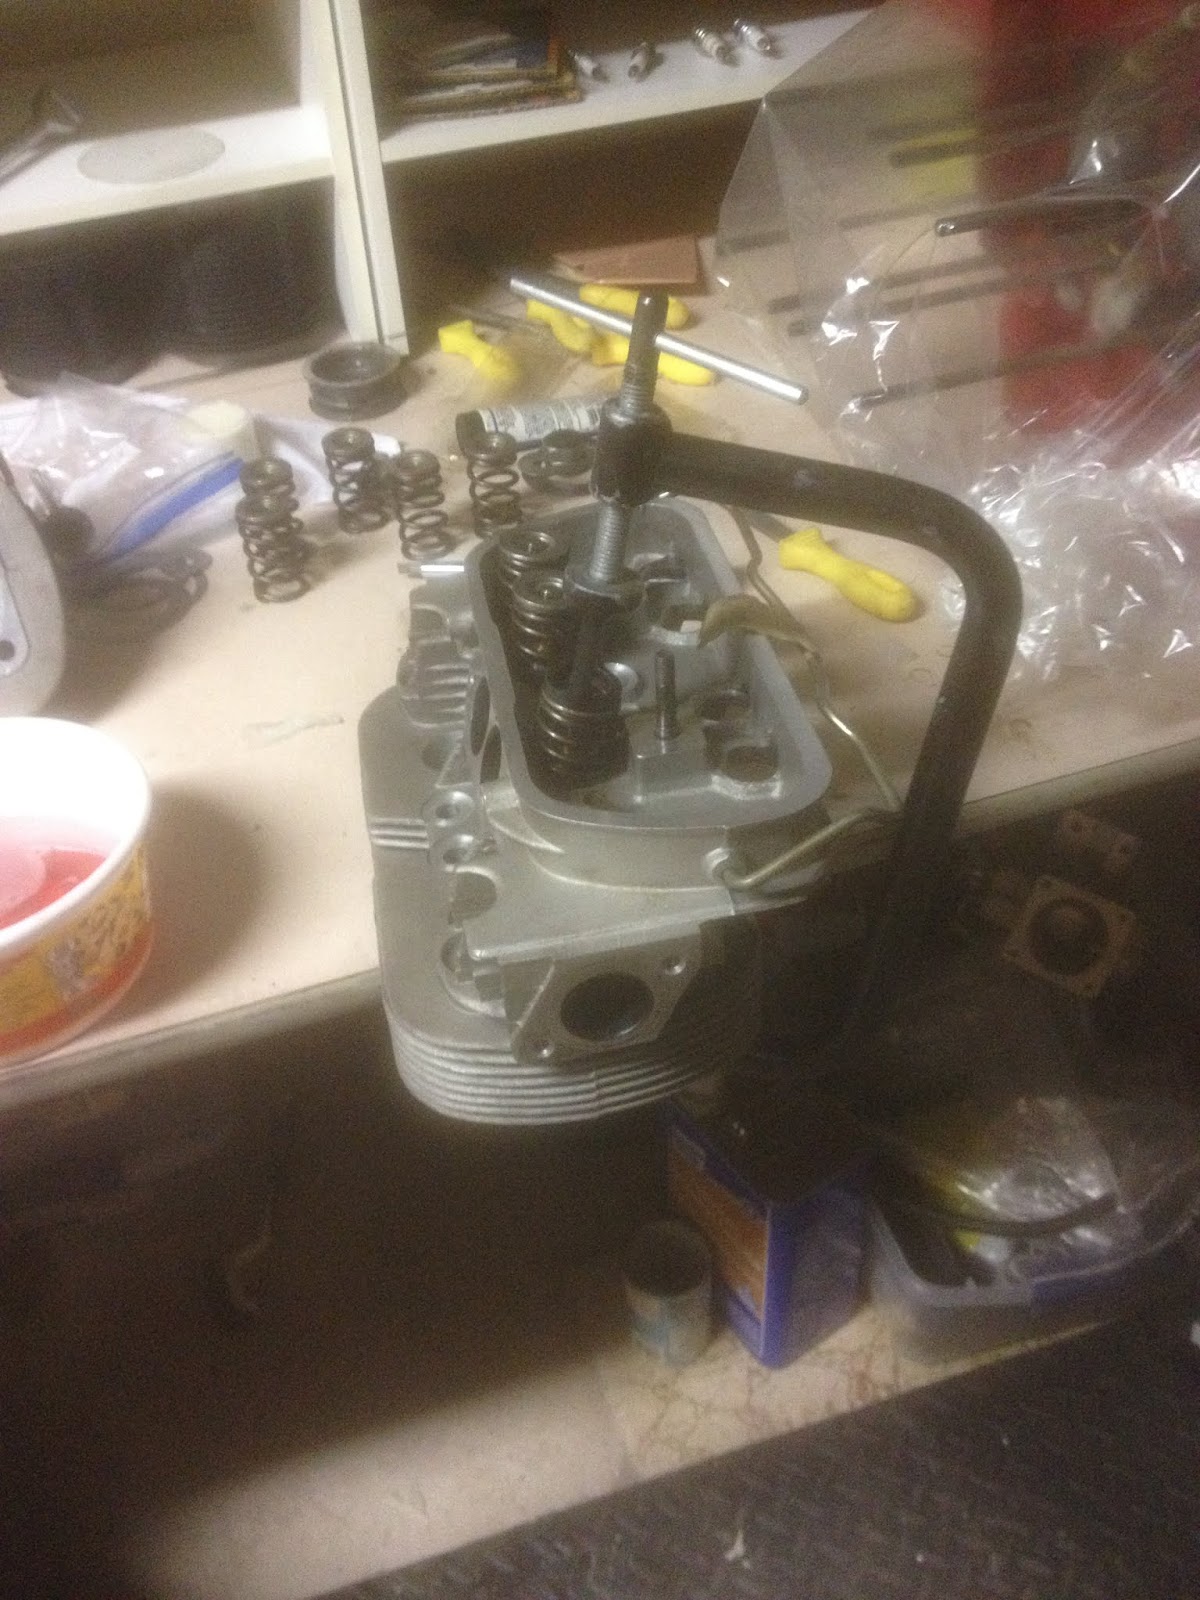
I was so excited to get past this hurdle - heads are finally (almost) in shape. I figured the best way to CC my heads was to install the valves and valve springs - turns out I was wrong*, but that's how I did it to start. Got them in pretty easy, once I figured out the tool:


I'm really, really opposed to buying single-purpose tools. However, there's really no way around this one - it was either this or some kind of press with a few hokey jigs, and I didn't have space for that nonsense.

Once I got the valves installed, I started prepping for the CC measurement process:


Ok, the first step is always to get the heads level. I figured the easiest way to do that was to set up the heads, then add shims until they were level. This turned out to be a huge project, because even with the heads just about perfect, air bubbles would still show up *not* directly under the hole in the plexiglas. So I'd have to start tipping the head, and by the time I got the bubbles where I needed them, the shims would have walked out of position and now the head isn't level anymore, and the bubbles zip off to some corner of the chamber. I spent more time re-stacking shims than I did on any other part of this project!

I failed to take pictures of the entire CC process - call me impatient, I just didn't want to stop what I was doing and get my camera out. I went through the process at least 3 times for each chamber, then averaged my results - which wasn't hard, considering my syringe only had 1cc graduations. I was still able to guesstimate quarter-cc accuracy though.


Final volumes were 56cc, 56cc, 56cc, and 55cc. I'm still not sure about the last one - but it was consistent, all three measurements showed 55cc on the dot. That was easy enough to fix with a rotary tool and a cutter, followed by a sanding drum to smooth away chatter marks. Now I've got about a quarter cc spread between all four chambers, which is definitely good enough for a VW.

I cleaned the heads and valves really well to make sure no shavings or abrasives remained, and then put them away for now. I need to measure the valve spring forces, but after that I can reassemble the heads and bag them for now.

Aside from matching all the chamber volumes, CCing the heads gives me the last unknown for my compression ratio equation. I've got 94mm cylinders with a 78mm stroke; that's good for 541.2918 cubic centimeters. I've got 56 cc's in the heads, and I want a compression ratio (CR) of 8:1. CR is calculated by adding the volumes of the cylinder, head, and deck height, and then dividing by the sum of the head and deck height. When I go through all that, I get a necessary deck height of 3.06mm, or about 0.120". Back in an earlier post, I made mention that with the cylinder shims that were on the engine, the deck height was 0.114"..... which is pretty close to what I want. I can add .01" by going with the next size up shim; if I felt really crazy, I could chuck up the cylinders and turn them down .004" to get exactly what I'm after. However, I'm so close to final assembly of all of these components, I don't want to risk damaging something - and I think being off a tenth on my CR is probably ok; the math I'm finding looks like I'd be splitting hairs over less than half a percent of my power.

*The easiest way to do it is smear just a little grease on the valves and on the valve seats, then push the valves in and give them a little turn to hold them in place. No leaks this way.

Sunday, November 13, 2016

Engine DISassembly (Part 2)

Not much progress today, but I got a little further. I keep running into bolts that I don't have wrenches for, although hopefully that will stop soon. The main thing I accomplished today was setting up a table to work on, covered in plastic, and transferring the engine block from the stand to my new "workbench."


I got the pistons out, which ended up being easy enough... the Teflon buttons really were just floating in there, but I needed something sharp to stab the sides of the buttons to get enough grip to remove them. I forgot to take pictures of them tonight, but when I get into working on the cylinders I'll be spending about a paragraph on how crummy those buttons are.

Removed cylinders yesterday, but they're all laid out in order here. You can see the lower right cylinder has a lot of corrosion on the outside of it - the other three cylinders aren't corroded much at all. I think the corroded cylinder was a quick replacement to avoid a more serious rebuild earlier in this engine's life.


Another disappointing discovery when I removed the accessory case that covers the flywheel - the teeth are chipped pretty bad on about a quarter of the flywheel. Not messing around with that - I'll have to replace it.... unless they sell just the ring gear for it. I'll look into that...


I also removed the valve springs, and while those all seem to be in good shape, I did notice that the same cylinder with lots of corrosion also has mismatching valves.... the valve on the far left below has almost no carbon deposited, not to mention is shaped different. I'll have to make a decision on whether or not that is an issue/will bother me enough to get new valves.


And here's the part where I don't have a big enough wrench - or rather, big enough socket. Not sure a wrench would be really effective, since this is recessed inside the flywheel.


Tomorrow I'll pick up some more specialty sockets, and hopefully make some more progress on tearing this thing apart. My goal is to have a semi-final list of parts to order by the end of the coming weekend, as I suspect some of the parts will take some time to acquire... especially if I wait until the holiday season.