Showing posts with label case. Show all posts

Wednesday, August 15, 2018

Whoops... This is a new problem!

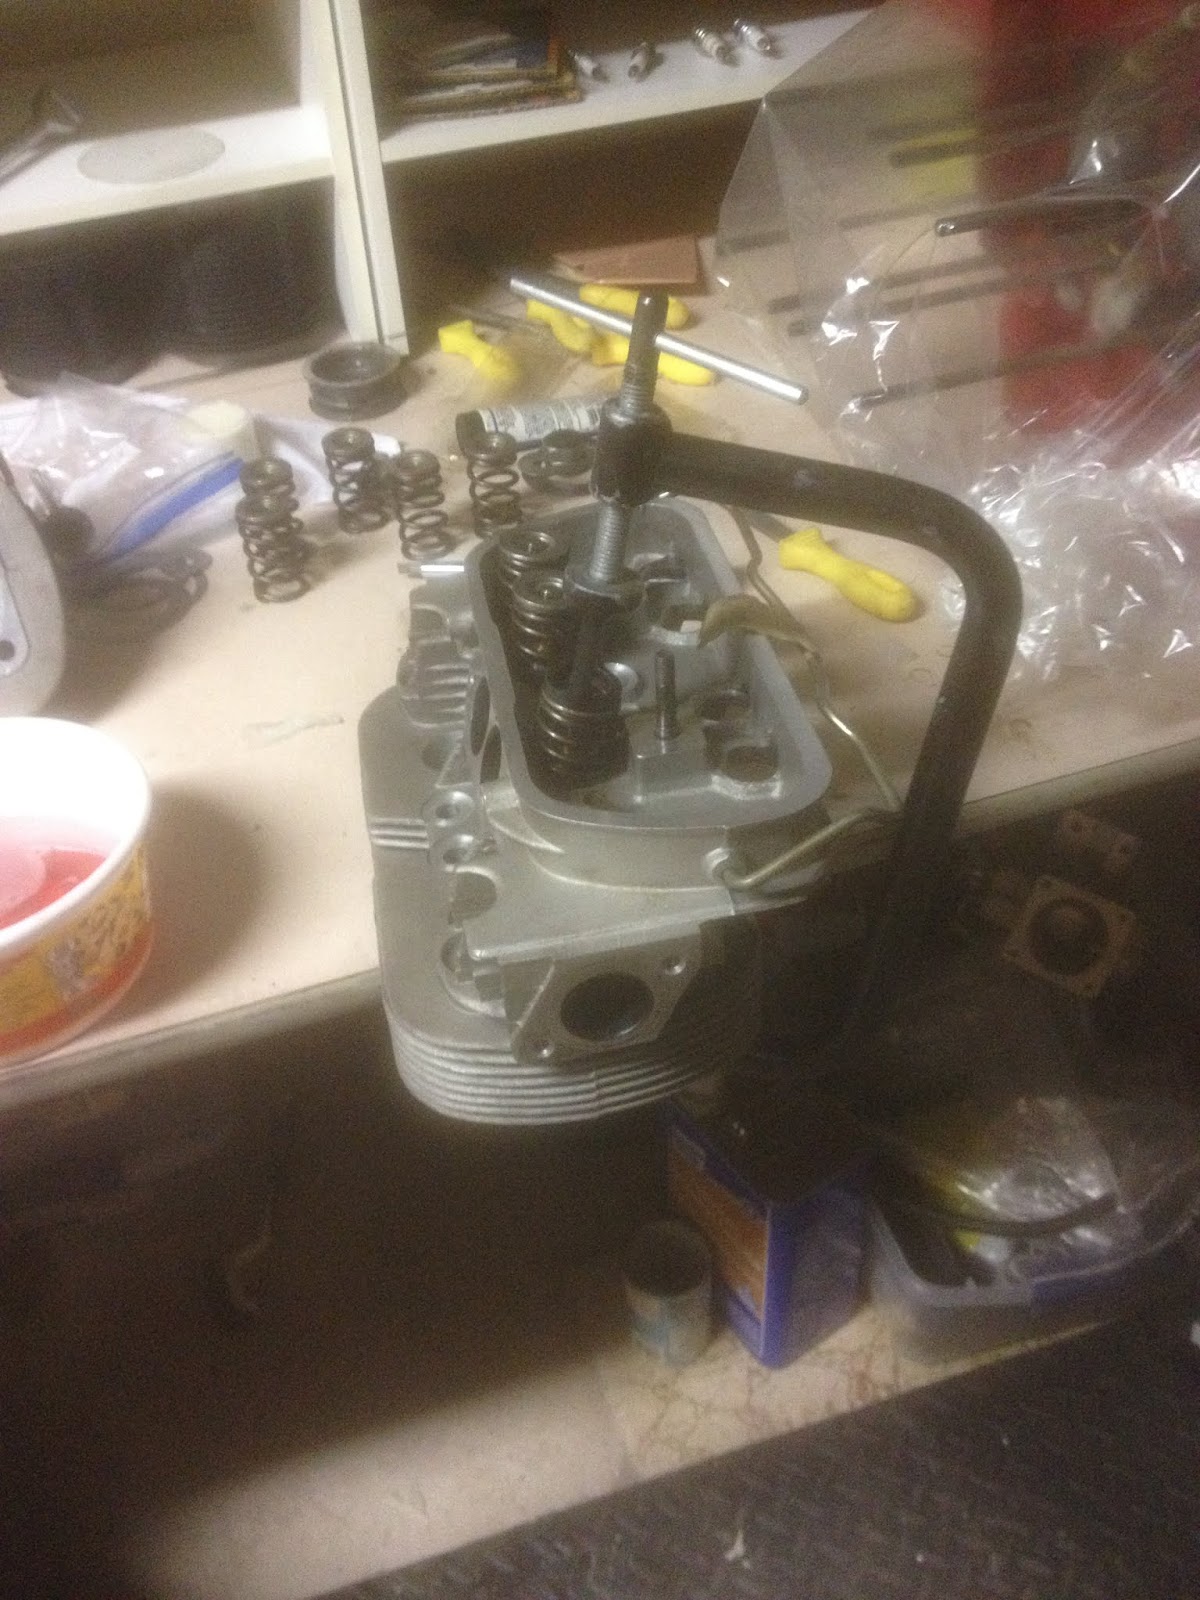
Ok, ok, it's not really a problem... at least, it's not a mistake or a roadblock or a money pit kind of problem. The last few weeks have been pretty good - I finished assembling my heads,


made a plate for bolting the cylinders on to check deck height for each piston/cylinder set,


(btw, this gave me wacky results - I had to remake the plate to cover *both* cylinders at once, the same way the head will when the engine is assembled)


(Again, not like this.) and then made a new two-cylinder capturing plate and measured deck height at final torque.

Deck heights were all pretty darn close - I had a spread of 0.1997", 0.122", 0.1225", 0.125". Because I have a lathe handy, I was planning on chucking up the pistons and dusting them all perfect - but after doing the math, I realized that by arranging the heads correctly, my compression ratio would range from 7.976:1 to 8.021:1. In other words, a maximum difference of 0.045:1......... I think that's close enough!

I went ahead and painted the cylinder numbers on the case according to convention, and then marked the cylinders and pistons accordingly.


Since I wanted the heads on certain sides, I went ahead and marked them as well.


The last thing I have to do on the engine for now is bag everything up - each head will get a bag, each piston/cylinder will get a bag, and the block will get a bag. I don't want to have to carry the assembled engine up out of the basement when we move in a few months, so I'll just leave it in pieces until it's in a shop that's on the ground floor. After that, I'll assemble it and bag it again, until I need to take more measurements off it or am ready to attach it to an airplane. So what's the problem, you ask? Well, this engine has been about the only thing I can do related to my plane right now. Every couple weeks we travel to see the rest of my family, and I can sneak away for a few hours to work on the plane when we're there, but otherwise it's just me and the engine. Now that I'm mostly done with that, I'm not sure how I'll keep making progress... and if I'm not making progress, I'll drive my wife over the edge. :)

Saturday, October 21, 2017

No turning back now...

Got my LocTite, and had a few free hours tonight, so I finished the crankshaft buildup by torquing the connecting rods to spec. Then I gooped up all of the head studs with Permatex Aviation 3H and installed those in the case halves. 


I got everything covered in moly grease, dropped in the cam lifters, crankshaft, camshaft, cam plug, and stud seals, then put the case together and torqued everything down just as if I was sealing up the case for real. 


I checked free rotation the whole way through, and man, is it nice and smooth. All the gears mesh up just fine, no weird noises or rough spots. With that, there was nothing left to do but tear it all down so I could add grease and sealer and put it back together one final time!


Got moly grease on the cam lifters, which in my case are hydraulic. Using moly on them really helped them stay in place; a big plus on aircooled VWs, since they want to fall out when you try to put the case halves together. Dropped in the crank and camshaft, then gooped up the cam plug with 3H and stuck that in its place. (Apparently this picture was actually before the cam plug was installed.)


Next came the excitement - spread 3H on the other case half, mate them together, and put all the nuts and bolts in.


I gave it one more free rotation check once everything was torqued and ready to leave, and sure enough - smooth as you please. I'm gonna have to find something else to complain about now that the crankshaft is doing what it's supposed to do. One final thing I did before I sealed the case up was check my end play at the flywheel. I've got three shims in between the first bearing and the crankshaft to act as a thrust bearing, and the remaining end play is shown below. I think I'm supposed to have it at around 0.005", but I'll have to check on that. I'll order a shim to put between the flywheel and the first bearing and call it good.


Sunday, June 18, 2017

MORE Case and Crank prep...

It's been slow going lately, but progress seems to be taking place. I got lost in a lot of thought experiments and what-ifs, and (as is usually the case,) ended up right back where I started. So I cut the top off of the flywheel flange on the case, did a little bit of clearing on the inside of the case (some spots didn't seem to have more than a few thou of room for rotating parts), and used a Dremel to carve away a couple of channels for the engine mount in the back.


I also pulled all the aluminum plugs to get an idea of how much stuff was trapped in the case...


...And there was a lot! Much of that was from walnut blasting the case, but I found a good number of metal shavings as well. I'm glad I pulled the plugs... Next I tapped the holes for various pipe thread plugs, ranging from 1/16" NPT up to 3/8" NPT. I used a 1/2" NPT to tap a larger hole in the front for an oil temp sensor, because I've read bad things about the current temp sensor location (near the flywheel end of the case) actually reading quite a bit lower as a result of not being in a high-flow area. The new place is directly in the oil flow as it enters the oil pump, so it'd be hard to get a better reading than that!

Drilling and tapping the magnesium was quite easy, actually... in that the magnesium tapped without much force. There were a few places that I had to tap a few threads, then grind the tap down, then tap a few more, then grind, back and forth a few more times until the plug fit the way I wanted it to. There's one hole that I may have tapped just a little too hard and began to mess up the threads, but the plug threads in just fine and seems to have full contact along the entire length and circumference of the plug, so I'm going to leave it.

Now that all of the holes are prepped, I'll pull all the plugs out for another cleaning session. The last step will be to file a notch in each of the plugs so I can swage the case metal into those notches as a final insurance against the plugs working their way back out.


I forgot to take pictures, but I drilled the crankshaft for a couple more dowel pins. When I received it, it only had two, which was probably fine running the prop off the other end, but I'm not comfortable only using two running it with the prop hanging off the flywheel. So I drilled two more holes, reamed them, and tried to put the dowels in.... oops! One of the holes is *way* too loose! So I ordered a 11/32" drill bit blank, cut it down to the right length to be a dowel pin, and re-reamed the hole to be a press fit. This really isn't a bad plan anyway, as it keeps my flywheel aligned the same way every time it's reassembled, and the only extra work I'd have to do on a new flywheel is drill one hole slightly larger.

Upon reassembly of the flywheel and crank, I realized the flywheel is running about 60 thousandths out of true at the outermost edge. Not cool at all. So my next step is to remove the dowels and see if the crank face is out, but my bet is that somewhere along the way some burrs crept up and are keeping the crank from seating correctly. At least, I hope that's what happened... otherwise it's back to the machine shop.

Tuesday, March 28, 2017

Rust removal sucks, Cleaning sucks, Painting sucks...

....but they're all pretty necessary if this engine is going to last. So I've been doing due diligence to remove corrosion, clean up, prep, paint, and heat treat all my engine components according to best practices as instructed by Bob Hoover and Tom Wilson. There's a fantastic resource online at http://www.eaa691.net/images/pdf/VW%20aircraft%20engine%20building.pdf , which is a hundred some pages on what to do, why to do it, and what happens when you don't. I've been just collecting parts and trying to get everything ready for the first trial assembly. Tomorrow I'm taking my crankshaft in to have it magnafluxed, and if it comes back ok I'll start putting stuff back on it. First the woodruff key and the gears, then the prop hub. The next step will be installing the bearings in the crank case, and dropping crank and camshaft, along with some associated hardware, inside and making sure it all turns the way I want it to. 

I got new cylinders and pistons, measured them, weighed them, cleaned them *very* well, and painted them black to prevent corrosion and encourage heat transfer. 

The cylinder on the left has wet paint on it, the cylinder on the right has been cleaned but not painted yet. I made sure to keep track of the cylinders, and marked them after they were painted so I could keep track of them.


As it turns out, the cylinders I designated as "A" and "D" were both 4.490" between the two sealing surfaces, whereas cylinders "B" and "C" were slightly shorter at 4.487". That's right on the edge of too much difference, but because I've got less than a half a thousandth of difference between matching cylinders, I'm not going to send them out to have them machined. Instead, I'll put both of the "long" cylinders on one side, so the heads will be able to seal correctly, and either make up the difference between the two sides with a .003 shim, or just not worry about it.... for all I know, once it's assembled, other tolerances may stack up and either make it a larger difference or even it out. That's why I'm calling this a "trial" assembly, because there may be adjustments to make after it's all together. 

I'm working on removing some surface rust on my prop hub with vinegar. Most of it came off after soaking for about two hours, but I'll give it another shot tomorrow after work. I still have a fair amount of cleaning to do on the engine case, which is about the last thing I want to do... but it's going to be the thing that's holding me up in just a few days, I think. By next week, I hope to be posting pictures of a freshly painted, partially assembled engine.