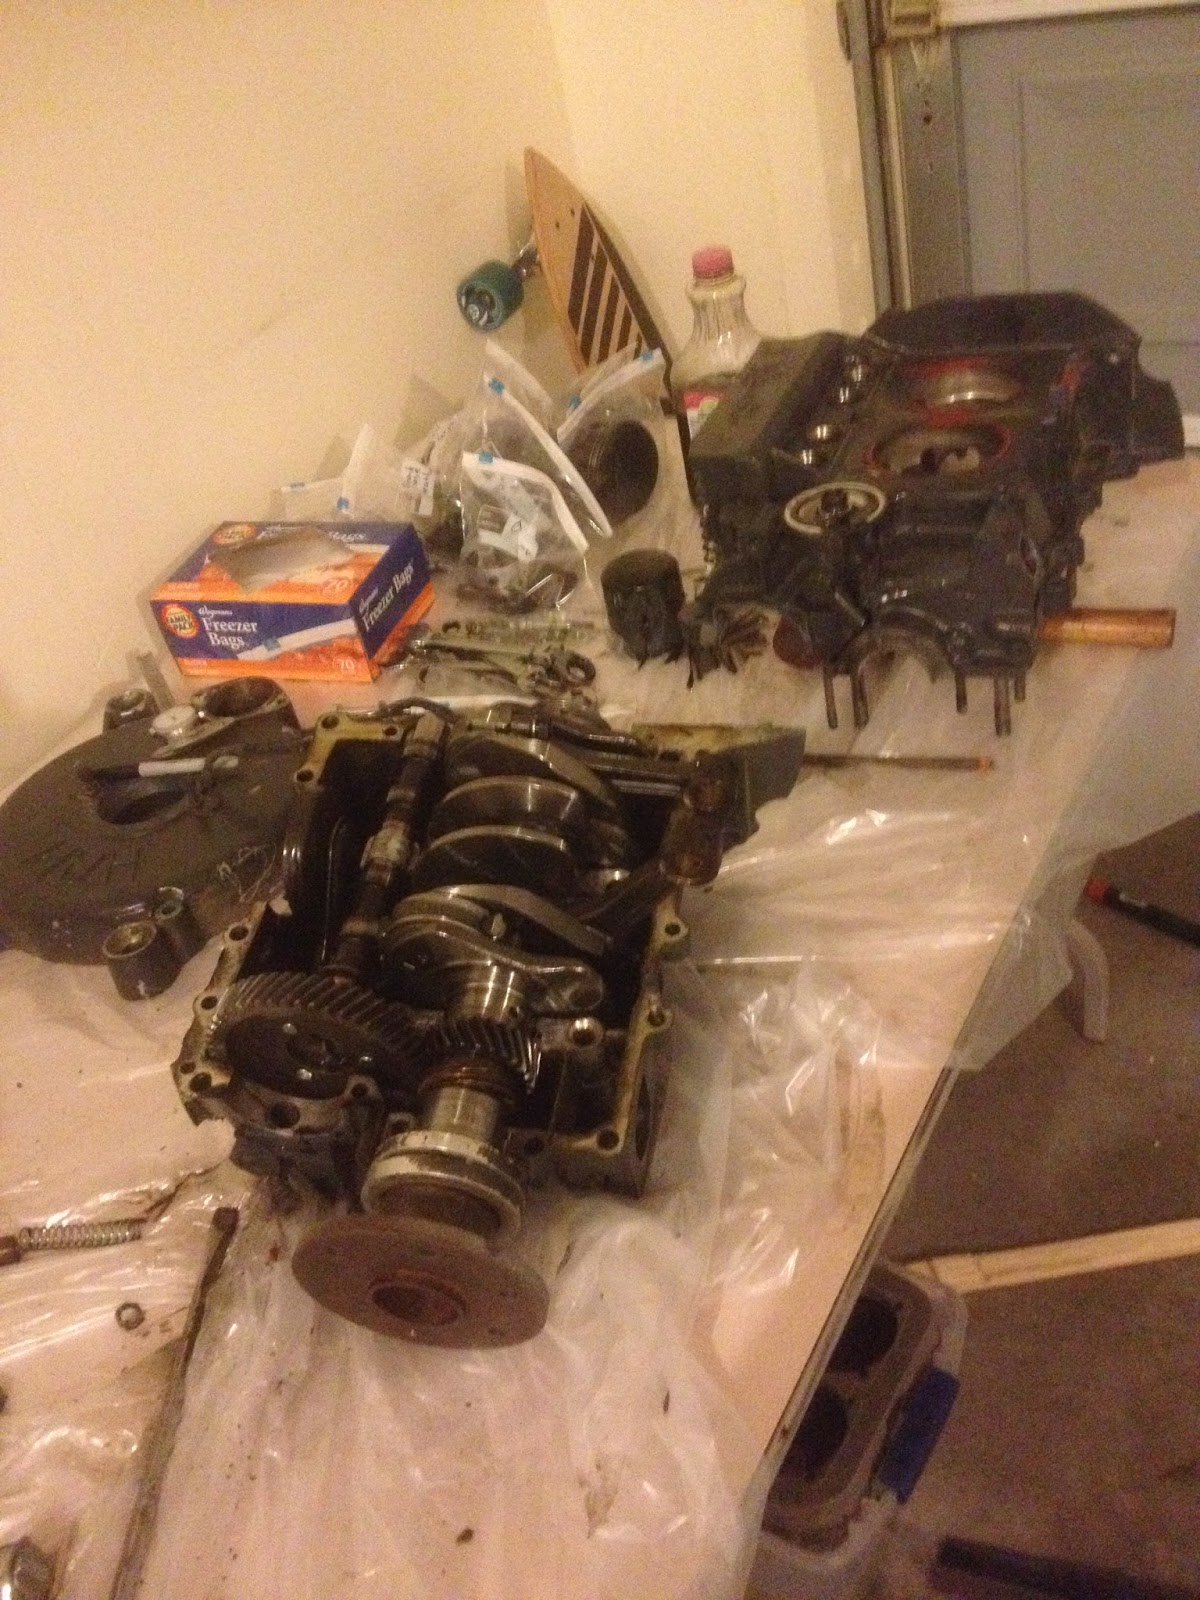
Got my LocTite, and had a few free hours tonight, so I finished the crankshaft buildup by torquing the connecting rods to spec. Then I gooped up all of the head studs with Permatex Aviation 3H and installed those in the case halves.


I got everything covered in moly grease, dropped in the cam lifters, crankshaft, camshaft, cam plug, and stud seals, then put the case together and torqued everything down just as if I was sealing up the case for real.

I checked free rotation the whole way through, and man, is it nice and smooth. All the gears mesh up just fine, no weird noises or rough spots. With that, there was nothing left to do but tear it all down so I could add grease and sealer and put it back together one final time!


Got moly grease on the cam lifters, which in my case are hydraulic. Using moly on them really helped them stay in place; a big plus on aircooled VWs, since they want to fall out when you try to put the case halves together. Dropped in the crank and camshaft, then gooped up the cam plug with 3H and stuck that in its place. (Apparently this picture was actually before the cam plug was installed.)

Next came the excitement - spread 3H on the other case half, mate them together, and put all the nuts and bolts in.


I gave it one more free rotation check once everything was torqued and ready to leave, and sure enough - smooth as you please. I'm gonna have to find something else to complain about now that the crankshaft is doing what it's supposed to do. One final thing I did before I sealed the case up was check my end play at the flywheel. I've got three shims in between the first bearing and the crankshaft to act as a thrust bearing, and the remaining end play is shown below. I think I'm supposed to have it at around 0.005", but I'll have to check on that. I'll order a shim to put between the flywheel and the first bearing and call it good.