Showing posts with label epoxy. Show all posts

Monday, October 16, 2017

Landing Gear (part 2)

(Continued from Landing Gear - Part One)

My landing gear legs finally showed up, so I took advantage of the last of the warm weather to get some fiberglassing done. I was pretty excited, since the plane has been sitting on jack stands for quite some time now, and I'm always nervous about it falling off when I'm getting in and out to make airplane noises.

Once I had the gear planed to thickness and edges chamfered, (ScotchPly is really hard on planer blades!) I wrapped a couple of layers of bi-directional cloth infused with epoxy around them, as per the instructions. After that cured, I hot-glued a couple of straws to the backs as a housing for the brake lines.


I mixed up some really thick micro and filled in all around the straws to help the next layers of fiberglass lay smoother.


Once that cured, I sanded it all smooth and wrapped the next layers of fiberglass cloth and epoxy around the back. Nothing to it, really.


The next step was to use some more micro and just squeegee it over the sides of the leg, so I could sand them nice and smooth (without adding much extra weight.) I also used a high-speed rotary tool to open up holes to the straws and sanded everything smooth.

Before I got to the fiberglassing stage, I had gotten the brackets all drilled and prepped. Because of the shape of the brackets, I had to get a little creative with the hole placement for the axles.


The next step was a little scary - the geometry of the axles and landing gear is sort of important, and I only got one shot at drilling holes into the fiberglass legs. I took my time and re-verified a couple times, and I still ended up with one axle not quite pointing the right direction - but I can machine a nice aluminum shim to fix it, since it's off by only a couple degrees. 

Once my holes were all drilled, I mixed up some flox, spread it on the brackets, and bolted the legs to the brackets for good.


While I waited for that to cure, I got my new rims and tires out, packed the bearings with grease, assembled them onto the axles, and the axles onto the brackets. It's starting to look serious now!


As soon as the epoxy showed the slightest indication of curing, I couldn't help but drag the whole assembly out to the garage and bolt it onto the plane. It's not a great picture, and there's a ton of crap in and around the plane, but it still looks a heck of a lot better with landing gear than it did on jack stands!


I haven't been idle with the engine - just frustrated, and lots of work for very slow progress. It was really good to get this out of the way, just to feel like i'm getting *something* done.

Friday, September 2, 2016

Seats (Part 5)

Continued from Seats (Part 4)
I attached piano hinge to the seat back at the bottom, so I can access the back really easy. While that was curing, I glued in four 5/8" spruce braces for the seat back, to make sure they won't buckle under load. I also cut a 1/4" piece of spruce for the other side of the seat back hinge to attach to.


Once those had set, I cut the seat pan to fit around them, then connected the seat back to the 1/4" spruce with the other half of the hinge. These I lined up with the seat pan in the plane, then epoxied the spruce hinge plate to the seat pan.


Once that had cured, I drilled holes all the way through the seat pan and the spruce hinge plate and epoxied nuts underneath the seat pan, so the hinge can easily be unscrewed from the seat pan. Honestly, that was probably overkill, because it's easiest to pop the whole seat assembly out of the plane and pull the hinge pins. However, it makes me feel better that the hinge is screwed down instead of just epoxied on, and even if the epoxy holding the spruce hinge plate failed, the screws go through that *and* the seat pan, so it's not coming apart unless I want it to. I have a close-up of the hinge and spruce, but it's too blurry to post, so I'll have to take another one.

I went ahead and cut the seat back into two pieces after this was all cured. I didn't cut it before because I wanted to make sure both seat backs were hinged in exactly the same place and direction, so they won't interfere with each other. The last thing I did was seal the edges using 1" fiberglass tape, then sanded them all smooth. I'll probably paint the seat back, but I didn't feel the need to do that yet. With the seats hinging separately, I can use the passenger side as a flat surface when I'm flying solo. The only part that I haven't figured out yet is where to put the seat foam if I do that... but I'm hoping I won't have a reason to need a work surface while I fly. Much of my cross country flying has been done with an instructor in the right seat, which leaves no room for charts in a C172. As a result, I've got a nice kneeboard that will hold a folded chart. I'll be running iFly software on a Nexus 7 on the instrument panel, so in theory the only time I'd need a physical chart would be if my electronics went south, and I probably wouldn't bother moving seat foam and flipping the seat back down in that case.


Monday, August 22, 2016

Wing Tips (Part 1)

With both wings glassed, it's time for wing tips. I'm doing a version of Hoerner tips, which ought to reduce drag and increase lift by moving the inherent turbulence out past the wing. I did a fair amount of research, and came up with a couple of studies that promoted the Hoerner tip, and a few studies that promoted simple round or rhombus end plates as much better options. I don't like the idea of those end plates, because 1. if they aren't lined up right they'll increase drag, and 2. I don't like how they look. I'm basically following a great Youtube video found here, which details the entire process.

The first step I needed to take was making my wing straight and square on the end. This should have been done by shaping the spars accordingly, but I wasn't smart enough to think about that at the time. As a result, the ends of my wings are pretty wavy.


In order to fix this, I started by cutting an oversized airfoil from a piece of 2" foam, and cut it into a bunch of sections that would follow the angles on the wing endplate.


These were glued on and left to cure. Once they were set, I sanded them to match the rest of the wing.
Next I laid a framing square along my front spar, which is perpendicular to the aircraft's centerline, and used that to draw a line on the top and bottom of the foam 1" outboard of the endplate. After the lines were drawn, I laid some 2" aluminum foil HVAC tape along the lines all the way around the foam.


Once that was lined up and pressed on really well, I fired up my hot wire foam cutter and used the tape as a template. When I was finished, I had a really nice straight, square, flat end plate to glue my wing tip onto.


I'll be extending my wing 15" outboard of the 3/32" plywood endplate, in order to try and squeeze a little better glide rate out of the plane. From what I've been reading, it doesn't seem to have much of a speed penalty, and a number of folks have extended their wing 18" or more this way without adding to the length of the spar. Since the foam I used to fix the wavy endplate issue is 1" outboard of the main spar, I'll add 14" of foam by cutting 7 pieces of 2" stuff and gluing it all together. It's cut to a slightly large airfoil shape to help me get it to the final shape faster. I'm using 3M spray adhesive so that my hot wire foam cutter will be able to slice through it once it's ready, although I'm slightly skeptical about how well that'll hold the foam for sanding.


Continued in Wing Tips (Part 2)

Friday, June 17, 2016

Seats (Part 3)

Continued from Seats (Part 2)
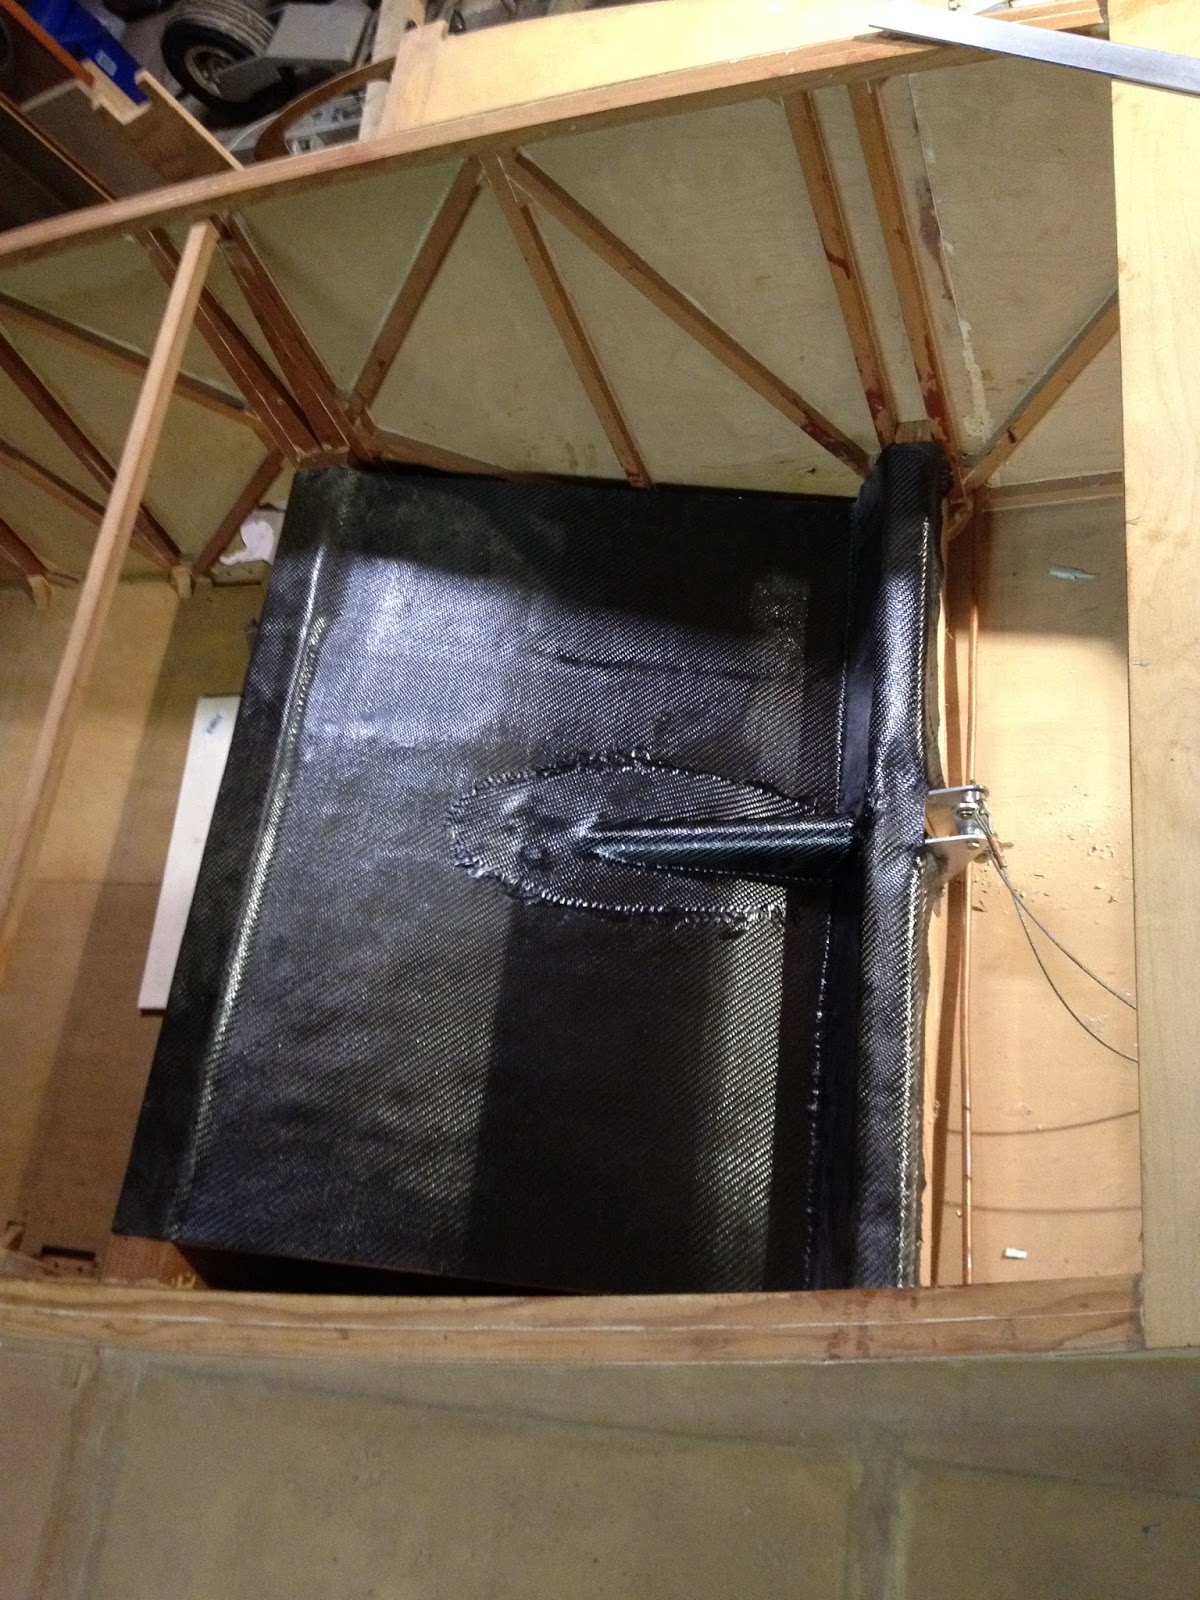
I've spent the past few weeks making some solid progress, although it doesn't feel like it. I cut the carbon fiber seat pan to its rough shape, and cut the channel for the elevator pushrod to run through. I've also got a piece of foam cut to shape as a former for the carbon fiber to lay over the channel, creating a tunnel to protect the pushrod from debris (and from being stepped or sat on.)


I wet out two layers of CF, wrapped them around the foam tunnel former, and slid that into the slot I cut.


Once that cured, I removed the foam and flipped the seat over. I wet out two more layers of CF (for four total) and laid those over the tunnel from the last step. This would have created a void at the forward end of the tunnel, so I filled it with a really thick micro mixture ahead of time.


 It looks in the picture like the CF over the tunnel has sharp edges, but they're all quite flat and smooth in real life.

I tried to do the seat back next, using some left over foam from my wing tanks. That was a disaster, and I mostly just wasted time and resources on learning how *not* to lay up fiberglass. I may write up the long version at some point, but I'm not sure anyone else is dumb enough to try it as many times or as many ways as I did before giving up (or getting it right.) Long story short, plastic bagging is a perfectly viable fiberglassing option, but like everything else in fiberglassing, it has to be done just right. So far I haven't figured out how to do it just right. So I'll go back to fiberglassing the way I usually do, because I really want repeatable results (and I really want a seat back!)

Saturday, May 28, 2016

Seats (Part 2)

Continued from Seats (Part 1)
I spent a lot of time prepping for the actual carbon fiber layup. Some of my brackets didn't fit quite the way I'd like, so I did a lot of fiddling to get everything right. After that, I trial fitted and then shaped the seat to fit exactly how I wanted it.


Once I was satisfied, I began using duct tape and plastic drop cloth to protect the fuselage from any epoxy drips.


After one more trial fit, I got ready for layup. Two layers on the bottom, two layers on the top, each with one layer 45 degrees to the other. I wet out the carbon fiber between two sheets of plastic in order to keep the carbon fiber layers from shifting. It didn't work as well as I hoped, and the epoxy was beginning to set up before I had it on the foam. Apart from that, the process went fairly smoothly. Seat went onto the bottom layers, which was then lifted into position in between the spars. The top layers were then placed on top, and everything was pressed together and smoothed out, then left to cure.

Final trial fit:


With carbon fiber and curing:


After it was cured, I gently but firmly removed the seat from the plane. Next I'll need to cut out and add a tunnel for the elevator pushrod, holes for the control sticks, and then work on the back of the seat.

I found a picture of the plywood cutting process, and am uploading it just for my record below.


Wednesday, May 25, 2016

Seats (Part 1)

After two solid months of doing little nothing projects here and there and generally not accomplishing very much, the weather finally got nice enough to start doing some fiberglassing. So I decided to build my seats next, because 1. it's a smaller fiberglass project to get me back in the swing of it before I tackle the wings, and 2. once I have the seats in place I can set my rudder pedals, my control sticks height, canopy and therefore aft deck height, and also sit on it and make airplane noises. I'm using carbon fiber for its strength to weight ratio, and because the seat giving way in flight would cause the airplane to be uncontrollable, so I want it as strong as possible. At this point I intend to build as much of the plane with vinylester resin as possible, because it cures very fast compared to just about every viable epoxy I've tried. However, there's some solid research that suggests vinylester doesn't bond well with carbon fiber, so I'm using West Systems epoxy instead. West Systems is fantastic stuff, but it takes about 6 hours to cure at 70* F, and that time goes up dramatically as temperature goes down. This week is all warm days, so I'm gonna try to knock this out before the end of the week.


I started with ½" foam, sliced into 2" strips. I epoxied 3/32" plywood in between each strip, so the strips of wood and foam are oriented length-wise in relation to the aircraft.


Once that had cured, I cut the panel into two pieces, one to match the seat back, and one to make up the flat bottom of the seat. I also built about the crummiest looking jig you could imagine to get the angle of the two pieces right, but it worked out just fine for my purposes.


I didn't get a good picture of it, but I cut slots right next to each of the wooden stringers in both panels, then used that same 3/32 plywood to make biscuits to fit in them to really strengthen the joint. Once I had them all prepped and trial-fitted, I mixed up my epoxy and went to work. Obviously no pictures of the process, but it was messy and the epoxy gets hot in the cup pretty quick when it's 80 degree weather. No misadventures, however, and with a carefully calibrated weight on top, and carefully calibrated heat lamps in place, the curing process could begin. Tomorrow I hope to begin laying my carbon fiber and start making this look more like a fancy seat for a composite aircraft (and less like I have no idea what I'm doing.)
Continued in Seats (Part 2)