I've spent the past few weeks making some solid progress, although it doesn't feel like it. I cut the carbon fiber seat pan to its rough shape, and cut the channel for the elevator pushrod to run through. I've also got a piece of foam cut to shape as a former for the carbon fiber to lay over the channel, creating a tunnel to protect the pushrod from debris (and from being stepped or sat on.)

I wet out two layers of CF, wrapped them around the foam tunnel former, and slid that into the slot I cut.

Once that cured, I removed the foam and flipped the seat over. I wet out two more layers of CF (for four total) and laid those over the tunnel from the last step. This would have created a void at the forward end of the tunnel, so I filled it with a really thick micro mixture ahead of time.

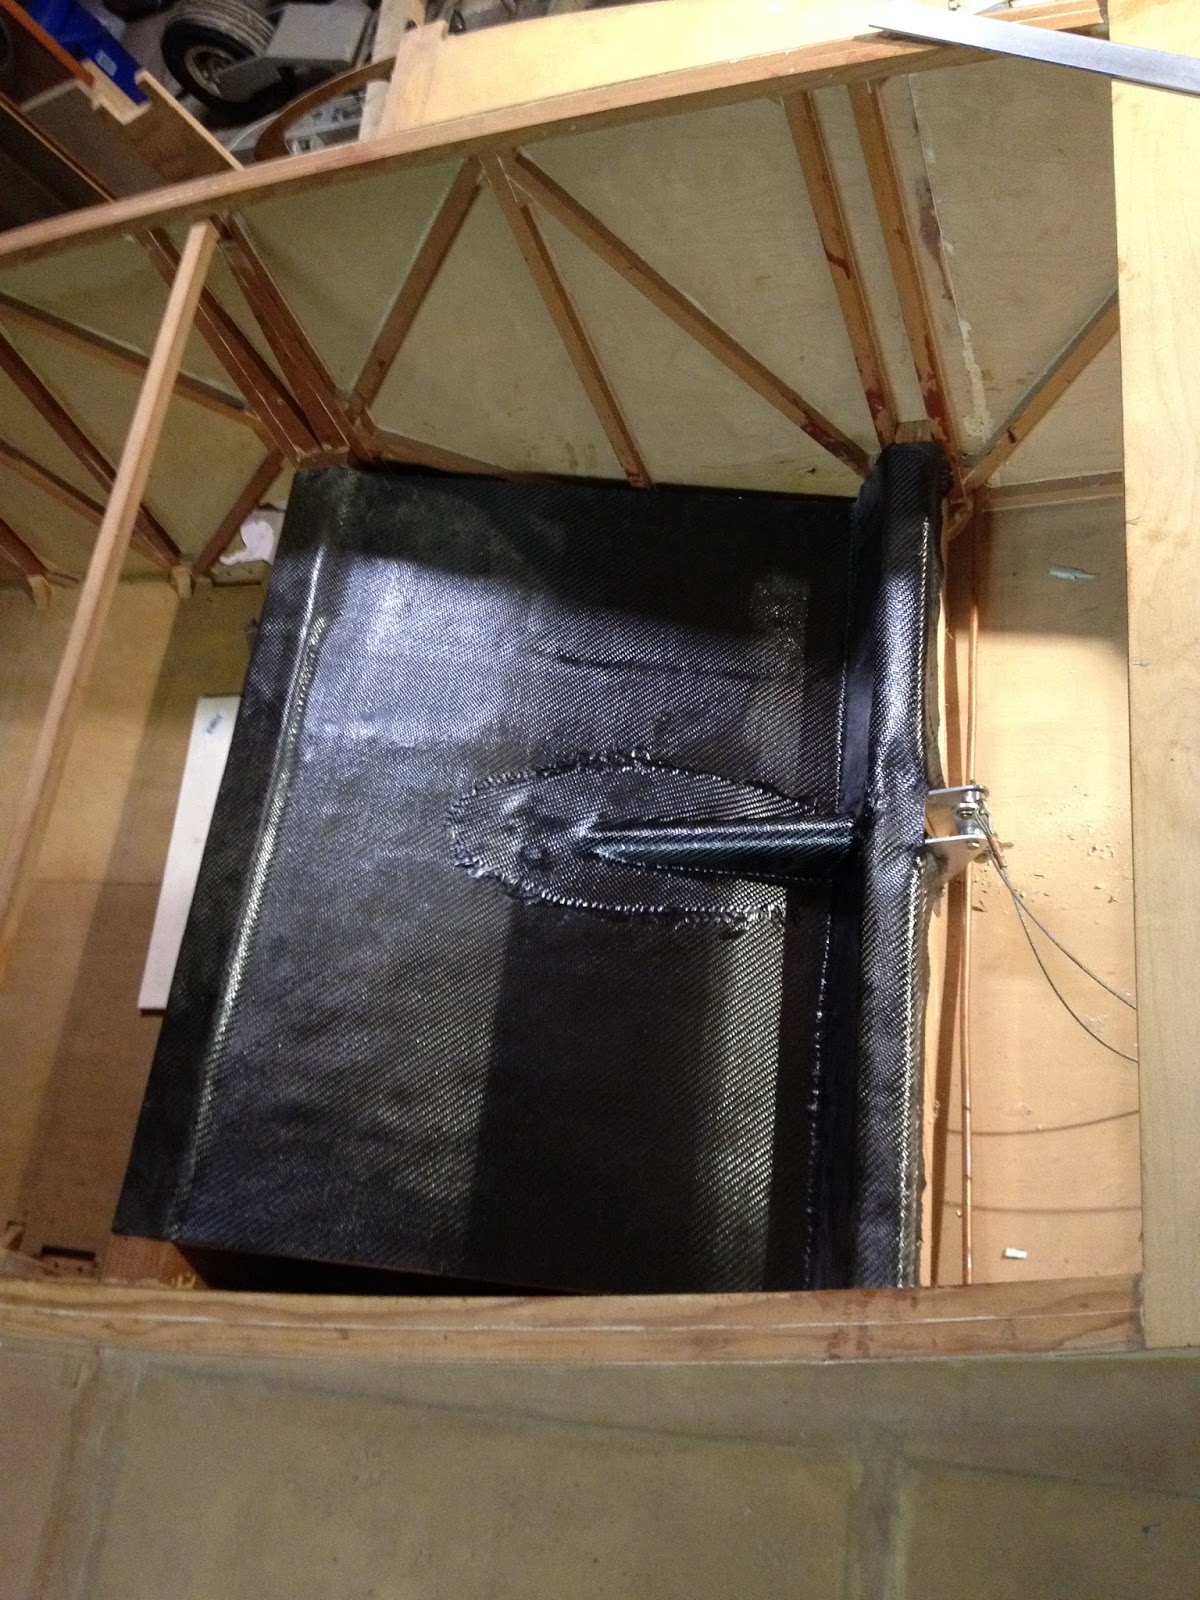
It looks in the picture like the CF over the tunnel has sharp edges, but they're all quite flat and smooth in real life.
I tried to do the seat back next, using some left over foam from my wing tanks. That was a disaster, and I mostly just wasted time and resources on learning how *not* to lay up fiberglass. I may write up the long version at some point, but I'm not sure anyone else is dumb enough to try it as many times or as many ways as I did before giving up (or getting it right.) Long story short, plastic bagging is a perfectly viable fiberglassing option, but like everything else in fiberglassing, it has to be done just right. So far I haven't figured out how to do it just right. So I'll go back to fiberglassing the way I usually do, because I really want repeatable results (and I really want a seat back!)
No comments:
Post a Comment