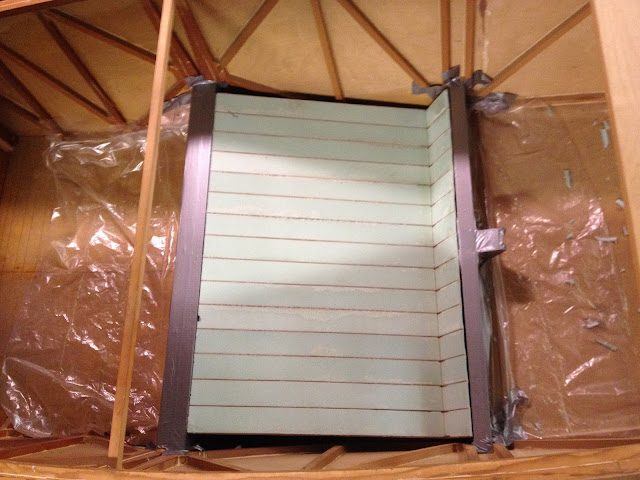
I spent a lot of time prepping for the actual carbon fiber layup. Some of my brackets didn't fit quite the way I'd like, so I did a lot of fiddling to get everything right. After that, I trial fitted and then shaped the seat to fit exactly how I wanted it.
Once I was satisfied, I began using duct tape and plastic drop cloth to protect the fuselage from any epoxy drips.
After one more trial fit, I got ready for layup. Two layers on the bottom, two layers on the top, each with one layer 45 degrees to the other. I wet out the carbon fiber between two sheets of plastic in order to keep the carbon fiber layers from shifting. It didn't work as well as I hoped, and the epoxy was beginning to set up before I had it on the foam. Apart from that, the process went fairly smoothly. Seat went onto the bottom layers, which was then lifted into position in between the spars. The top layers were then placed on top, and everything was pressed together and smoothed out, then left to cure.
Final trial fit:
With carbon fiber and curing:
After it was cured, I gently but firmly removed the seat from the plane. Next I'll need to cut out and add a tunnel for the elevator pushrod, holes for the control sticks, and then work on the back of the seat.
I found a picture of the plywood cutting process, and am uploading it just for my record below.


No comments:
Post a Comment