Continued from Fuel Tanks (Part 2)
I followed the same basic process for the other side, but I sacrificed about 2.5 gallons volume in exchange for a good sump. I used a router to get close, then sanded the bottom of the tank into the shape I needed. The design I drew up will work equally well whether the plane sits on conventional gear or tricycle, because I like to keep my options open.
After sanding to shape, I laid up the fiberglass, allowing the first layer to cure before adding the second and hot coating. I had to make several incisions to get the cloth to lay correctly, as well as add a few patches of cloth in trouble spots. There were still a few voids left, so I used a syringe to fill those with micro. Hopefully the pictures below give you a good idea of the geometry involved, keeping in mind that the entire tank will be tilted 5" up at the outboard end. Therefore, the low area is at the inboard rear end of the tank area.
I added the (previously drilled and tapped) aluminum plate for the drain valve, as well as a thin aluminum plate where fuel from the transfer tank will be directed. The theory is that pressurized fuel could, over time, wear a hole through the fuel tank. Not sure how worried I really need to be about that, but it's an easy fix to a "what if."
After the spars were in place, I lifted the bottom in place and began cutting and fitting my baffles and braces. This time around, I managed to seal the corners without much difficulty. I taped the corners as pictured below, then used a long needle on a syringe to fill the resulting area from the bottom, which kept air bubbles from becoming trapped and leaving voids.
I fiberglassed a small door onto an aluminum hinge to hang over the opening to my sump area, which will allow fuel in but not out. Another copy from
Mark Langford.
With the baffles in place, I made the ledges for the top the same as before.
Bottom went on, then leak tested. After the bottom was in place, I shaped the one-way door so it would cover the hole to the sump area.
Because of the angle the baffle is at, I used some flox and micro to build up the area and get a good flush fit between the hole and the door. To do this, I attached the door, used plastic and tape to keep the vinylester from sticking to the door, and then started filling the gaps on the sides and top with flox and letting that set. I used runny micro for the bottom, so I wouldn't end up with a lip that could trap contaminants until inopportune moments.
The result is a gravity powered one-way valve. I considered using actual fuel valves, but they would have become clogged if any debris made it into the tank. This design will allow debris to flow through, and then collect at the drain valve and be removed during preflight.
Notice that the top of the baffle that holds the one-way valve is open to the rest of the tank. That's because the line from the transfer tank will feed directly into the sump area. This way the sump/pickup area will always be the first place that gets fuel (which is really the only place that ever needs fuel.) When the sump area is full, fuel will overflow into the rest of the tank. If I leave the transfer pump on and the tank fills completely, the vent line will allow fuel to overflow back to the transfer tank instead of building pressure and causing damage.
Next I set my fuel filler neck in the top of the tank. I drilled holes in the sides of it to let the micro through in an attempt to keep the twisting force exerted on the fuel cap from twisting the filler neck free.
Lines in place:
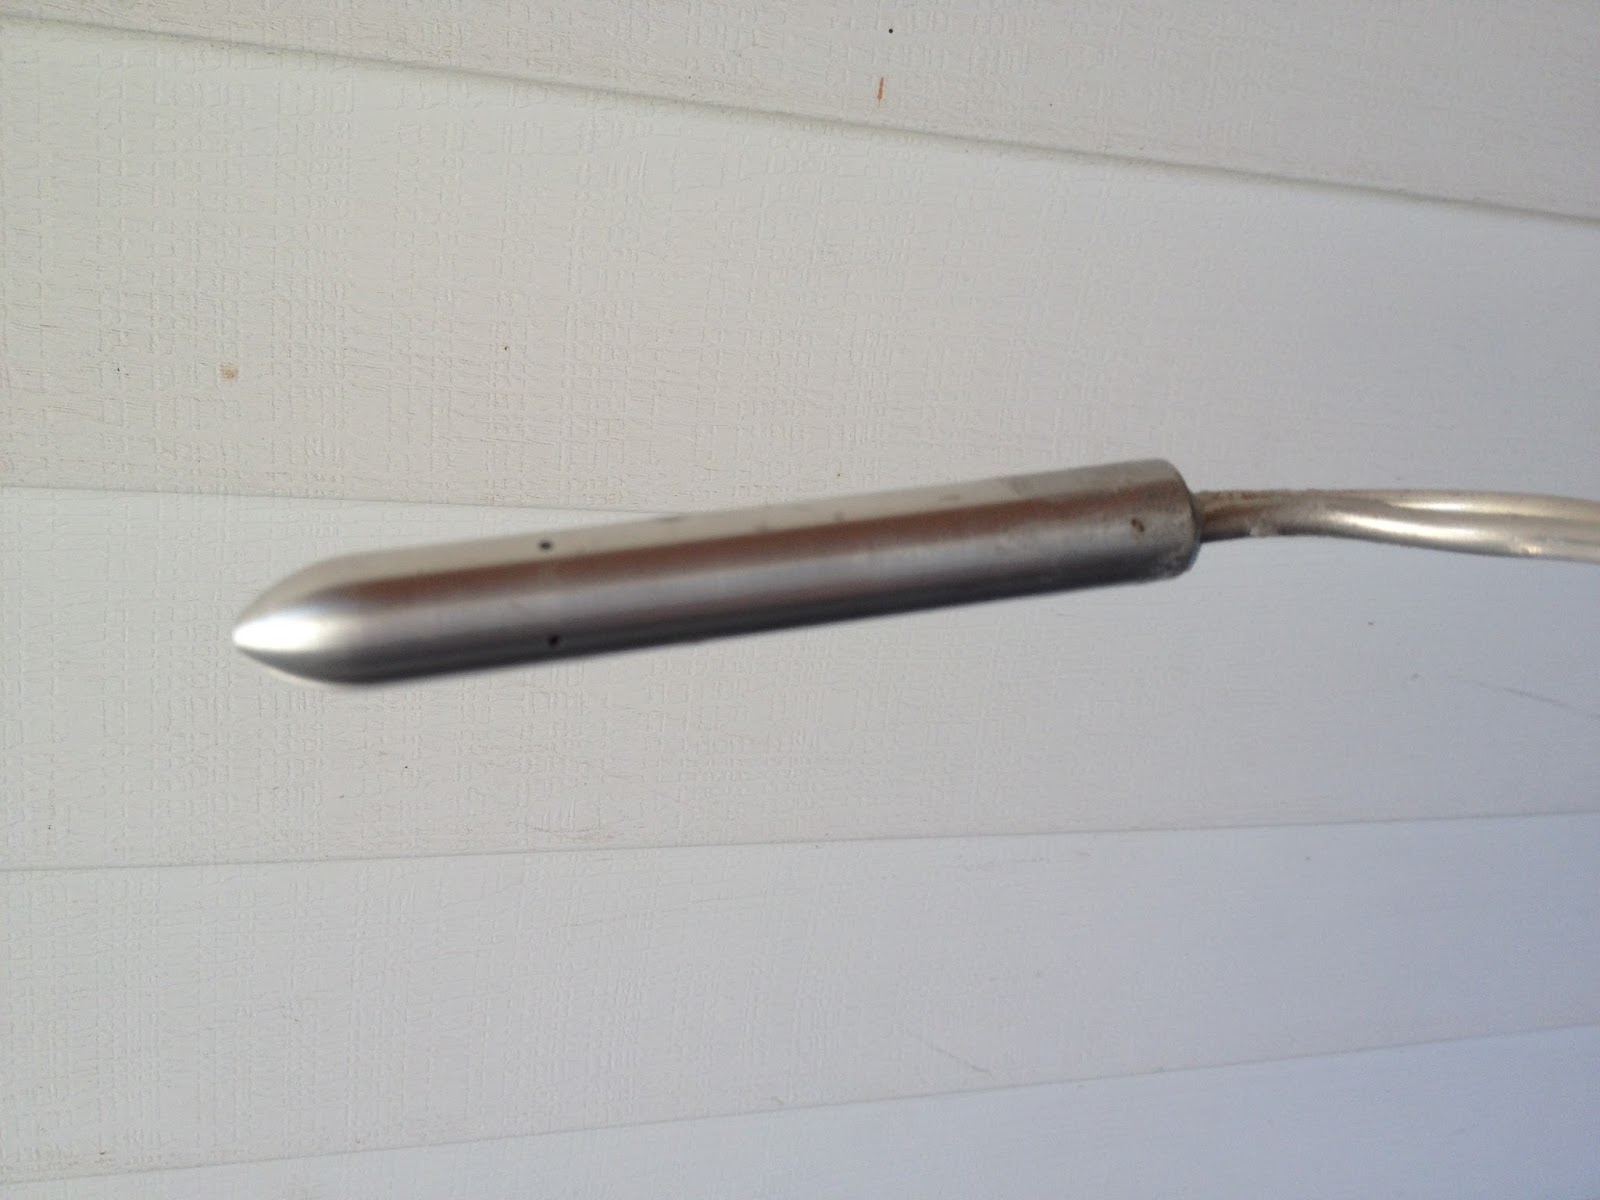
Fuel level sender:
I attached the top of the tank, leaving the outboard end uncovered so any leaks will be easy to find and fix.
Upon pressure testing the tank, I discovered I had a major leak. So bad that no matter how much air I allowed into the tank, I couldn't get anything to register on my pressure gauge. I spent about an hour going over every inch of the tank, and I couldn't find a single spot that had even a tiny bit of air coming through. Well... *almost* every inch of the tank. It turns out the drain valve was in a spot that was difficult to reach in my crowded work space. Pro tip: if you're going to pressure test a vessel, make sure all of the holes you intended to make are plugged. Once I put the drain valve in its proper place, I had zero leaks, so this wing gets removed and put away for the winter.
After passing the pressure test, I attached the rest of the foam to the top. Wing tanks are finally finished, so I'll lay off the vinylester until the weather gets nicer. To give you an idea of the time penalties cooler temperatures incur, I'll say this: In October, the temperature outside was around 70 degrees, and if the sun was out I could expect a layup to cure in under an hour. With the heater on the fritz in the shop, the temperatures fluctuated from as high as 60 to as low as 30 overnight (although I made use of some stinking bright, stinking hot work lights to help.) I routinely leave a little extra vinylester from each batch in its mixing cup, to verify that it cured correctly, and there have been several occasions where that stuff didn't fully set for two whole days. If I had warmer temperatures, this process would have taken much less time. Henceforth, I'll be using this winter to accomplish anything and everything that isn't fiberglass related, and get that stuff done once it warms up outside.