Monday, February 22, 2016

Control Sticks (Part 5)

Continued from Control Sticks (Part 4)
I got my brackets and sticks back from the welder today. I forgot to take a picture of the bracket, but this is how I fitted and attached the aluminum "fingers" to the sticks for welding.

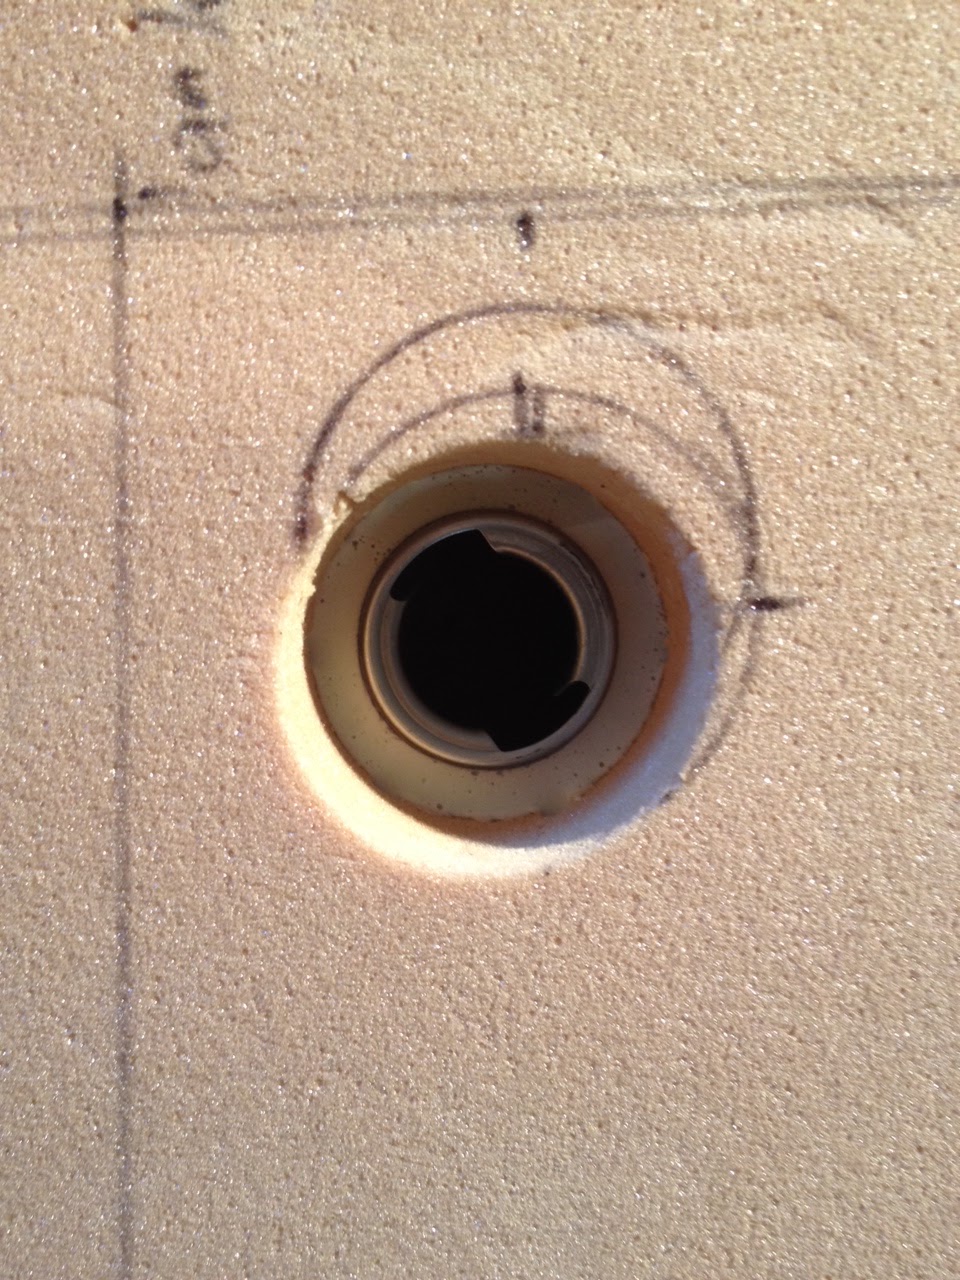
I cut a square wooden peg to match the OD of the aluminum tube, drilled a hole where the aileron cable connection will be, then chucked it up in my lathe and turned the other end down to the ID. I turned far enough along the peg to set the depth of my jig.


This is the jig inserted into the tube, with the fingers already welded on. A small C-clamp held the fingers to the tube for tack welding, and then was removed for the full passes.


I realized after I got these sticks back that I had forgotten to mark where I needed the other set of holes. The main problem I faced was getting the holes in the center of the tubing and lined up with the existing holes. My drill press vise is just far enough off of level and plumb that I didn't trust it, so instead I used a speed square to find the center on both sides, then drill and ream the holes.


I drilled and tapped a length of ¼" 4130 tubing to connect my two control sticks along the horizontal axis, which turned out to be a little bit of a trick. I chucked the tubing in my lathe in order to drill it out so I could tap it, then locked the lathe up and tapped it by hand. I didn't drill quite far enough on one end, so I broke the tap... luckily, enough was sticking out that I could grab it with pliers and screw it right back out. Another trip to the hardware store for a new tap, and I was finished. I threaded in two AN42B "eye bolts," and it was ready to connect.


The last of the metalwork for the control sticks was to make the mounting brackets. I needed a set of brackets to hold the control sticks, and a set of brackets that will mount to the back of the rear spar where the pushrod will transition to cables. I did some adjusting to Mark Langford's drawings for the former, and did some math and drew up the latter on some graph paper. Here they are, attached to ⅛" 6061 T6 aluminum angles, but not cut out yet. I started by drilling all the holes, since that can be a difficult procedure once everything is cut out.


Tomorrow I hope to finish the mounting brackets and begin assembly in the fuselage.
Continued in Control Sticks (Part 6)

Thursday, February 18, 2016

Control Sticks (Part 4)

Continued from Control Sticks (Part 3)
I made progress on a lot of little things today. I laid out, drilled, and cut the nylon bearing surfaces for the control sticks. Forgot to take pictures of that. I redesigned the brackets that'll bolt to the front spar, because the plans I'm using account for a flap design I'm not using. I'm still waiting on the material I need to fashion the brackets, so I couldn't work any further on that. I also drew up plans for the bracket assembly to hold the bellcrank behind the rear spar,  where my pushrod will transition to cables for elevator control.


I've found no matter how much I work with various CAD software, the easiest and fastest way for me to design things is still on paper. (Partly because I usually spend about an hour fighting with my printer when I want the finished design printed to scale.)

I'm not a very proficient welder, and I don't have the right tools, so I sent my jigged-up assemblies out to be welded. Once those come back and the rest of my material shows up, I'll be able to finish this project and move forward. I believe I'll finish the rudder pedal assembly next. Sometimes I feel like I'm going to run out of work that isn't fiberglassing before it warms up, but I'm well known for taking *way* longer than I say I will to finish projects.

Thursday, February 11, 2016

Control Sticks (Part 3)

Continued from Control Sticks (Part 2)
I finished cutting the steel for the main body of the assembly today.  I saved the diagonals for last, since they're the only set whose length is critical. I found a great site that allows you to input tubing diameter and thickness, angle, offset, and generates a template you can print out and transfer to your tubes. Check it out here.

I set up my shop for woodworking, so I had to get creative to cut and grind some of these pieces. I do have an angle grinder, so that got clamped to my workbench, and I cut the curved portions (where the round tube nested inside another round) with that. It was a lot easier than I envisioned it.


I used the RAS to cut my 45* to the rectangular tubing, then used my bench sander/grinder to make the fit really precise. Finally, I attached them to the jig, which will be welded after I cut and fit all my aluminum (in case there are any surprises).


I measured and cut the pushrod/shuttle that will connect the two control sticks, and drilled the ends to accept a 10-32 tap. Unfortunately, I cannot find my 10-32 tap, so this is where I quit for the day.
Continued in Control Sticks (Part 4)

Tuesday, February 9, 2016

Control Sticks (Part 2)

Continued from Control Sticks (Part 1)
I've decided to go ahead and post something just about every time I make progress, rather than waiting for an area to be entirely finished, and then consolidate once something is completed. I think that'll help me remember more of each step, so I'm not trying to remember what I did a month ago.

I drilled, cut, and placed my rectangular tubing today. First I marked the hole location on both sides of the tubing, then drilled pilot holes individually for each side.  (My drill press vise doesn't seem to hold material very square.) These only need to be 3/16" holes, so I jumped up to 11/64 and again drilled each side separately. Finally, I chucked up a reamer that's .0015" smaller than I need, and reamed through the entire tube. This made the holes in each wall line up very well.

After my holes were drilled, I cut the tubing to length on the RAS. I spent another hour or so making sure the blade was square and straight, and it still wasn't perfect, so I cut the pieces a hair too long and used my bench grinder to get them perfect.


I then used the drilled tubing as a guide to drill two straight holes through my jig board, and used two bolts to hold the tubing in place. This works better than building a clamp like I am for the round tubing, since the hole placement is what's really important.


Next I'll be cutting the diagonal tubing, which needs to be really perfect. I have enough material for at least one mess-up, though, so maybe I'll be able to finish this without ordering more.
Continued in Control Sticks (Part 3)

Monday, February 8, 2016

Control Sticks (Part 1)

In my research, I've come across a lot of great ideas and problem fixes other folks have designed.  While there are a few things I'm doing differently than anything I've found, for the most part my intent is to fly this thing ASAP. As a result, I'm borrowing heavily from a few sources. The main source is Mark Langford, partly because his ideas make a lot of sense to me, and partly because he detailed the problem, his solution, and his reasoning so well. In some cases, he designed his own parts and uploaded the design. The control sticks are one of those cases.(See them here, about halfway down the page.) My fuselage is not widened, as his is, so I adjusted the plans slightly to keep the sticks centered for pilot and pax. I also won't have flaps, so the brackets will be a little different. I've decided the best way to make everything line up is to build a complete jig, and then weld everything in place. I started with a piece of MDF that I squared up, then used a square and ruler to draw the design to scale.


After everything was drawn up, I routed a ⅝" channel ⅛" deep for the larger 1 ¼" tube to sit in, putting it at the right spot in relation to the 1" tubes. I made a few wooden "brackets" to screw down over the tubes to hold them in place. All of my tools are made for cutting wood, so I had to swap the blade on my radial arm saw. As if it wasn't a scary enough tool already! It took me about two hours to get it all squared up so I could start making cuts. I managed to get the main shaft cut and deburred, and it's in place with the washers ready to be welded on.


That's as far as I got yesterday. The two 45* tubes will be a lot more work, since the main shaft has to nest perfectly into them. As I was researching tig welding 4130, I came across a page that talks about a group that welds race cars. The author had asked one of the head welders what kind of tolerances they used when cutting pieces, and the welder responded that their tolerances ranged "from perfect to almost-not-perfect." Not a lot of room for error.
Continued in Control Sticks (Part 2)

Sunday, January 31, 2016

Fuel Tanks (Part 3)

Continued from Fuel Tanks (Part 2)

I followed the same basic process for the other side, but I sacrificed about 2.5 gallons volume in exchange for a good sump. I used a router to get close, then sanded the bottom of the tank into the shape I needed. The design I drew up will work equally well whether the plane sits on conventional gear or tricycle, because I like to keep my options open.

After sanding to shape, I laid up the fiberglass, allowing the first layer to cure before adding the second and hot coating. I had to make several incisions to get the cloth to lay correctly, as well as add a few patches of cloth in trouble spots. There were still a few voids left, so I used a syringe to fill those with micro. Hopefully the pictures below give you a good idea of the geometry involved, keeping in mind that the entire tank will be tilted 5" up at the outboard end. Therefore, the low area is at the inboard rear end of the tank area.


I added the (previously drilled and tapped) aluminum plate for the drain valve, as well as a thin aluminum plate where fuel from the transfer tank will be directed. The theory is that pressurized fuel could, over time, wear a hole through the fuel tank. Not sure how worried I really need to be about that, but it's an easy fix to a "what if."


After the spars were in place, I lifted the bottom in place and began cutting and fitting my baffles and braces. This time around, I managed to seal the corners without much difficulty. I taped the corners as pictured below, then used a long needle on a syringe to fill the resulting area from the bottom, which kept air bubbles from becoming trapped and leaving voids.


I fiberglassed a small door onto an aluminum hinge to hang over the opening to my sump area, which will allow fuel in but not out. Another copy from Mark Langford.


With the baffles in place, I made the ledges for the top the same as before.


Bottom went on, then leak tested. After the bottom was in place, I shaped the one-way door so it would cover the hole to the sump area.


Because of the angle the baffle is at, I used some flox and micro to build up the area and get a good flush fit between the hole and the door. To do this, I attached the door, used plastic and tape to keep the vinylester from sticking to the door, and then started filling the gaps on the sides and top with flox and letting that set. I used runny micro for the bottom, so I wouldn't end up with a lip that could trap contaminants until inopportune moments.


The result is a gravity powered one-way valve. I considered using actual fuel valves, but they would have become clogged if any debris made it into the tank. This design will allow debris to flow through, and then collect at the drain valve and be removed during preflight.


Notice that the top of the baffle that holds the one-way valve is open to the rest of the tank. That's because the line from the transfer tank will feed directly into the sump area. This way the sump/pickup area will always be the first place that gets fuel (which is really the only place that ever needs fuel.) When the sump area is full, fuel will overflow into the rest of the tank. If I leave the transfer pump on and the tank fills completely, the vent line will allow fuel to overflow back to the transfer tank instead of building pressure and causing damage.

Next I set my fuel filler neck in the top of the tank. I drilled holes in the sides of it to let the micro through in an attempt to keep the twisting force exerted on the fuel cap from twisting the filler neck free.


Lines in place:


Fuel level sender:


I attached the top of the tank, leaving the outboard end uncovered so any leaks will be easy to find and fix.


Upon pressure testing the tank, I discovered I had a major leak. So bad that no matter how much air I allowed into the tank, I couldn't get anything to register on my pressure gauge. I spent about an hour going over every inch of the tank, and I couldn't find a single spot that had even a tiny bit of air coming through. Well... *almost* every inch of the tank. It turns out the drain valve was in a spot that was difficult to reach in my crowded work space. Pro tip: if you're going to pressure test a vessel, make sure all of the holes you intended to make are plugged. Once I put the drain valve in its proper place, I had zero leaks, so this wing gets removed and put away for the winter.

After passing the pressure test, I attached the rest of the foam to the top. Wing tanks are finally finished, so I'll lay off the vinylester until the weather gets nicer. To give you an idea of the time penalties cooler temperatures incur, I'll say this: In October, the temperature outside was around 70 degrees, and if the sun was out I could expect a layup to cure in under an hour. With the heater on the fritz in the shop, the temperatures fluctuated from as high as 60 to as low as 30 overnight (although I made use of some stinking bright, stinking hot work lights to help.) I routinely leave a little extra vinylester from each batch in its mixing cup, to verify that it cured correctly, and there have been several occasions where that stuff didn't fully set for two whole days. If I had warmer temperatures, this process would have taken much less time. Henceforth, I'll be using this winter to accomplish anything and everything that isn't fiberglass related, and get that stuff done once it warms up outside.

Tuesday, November 10, 2015

Fuel Tanks (Part 2)

Continued from Fuel Tanks (Part 1)

After I cut my baffles to size and shape, complete with corners cut for fuel passage, I needed to fill the exposed corners with vinylester and micro so the foam would be sealed off from fuel contact. This was by far the most frustrating task, and took 5 or 6 tries to get right. A few things I discovered during the process:
1. Flox will not work for this.
2. See number one. Instead of trying to prove me wrong, just spend a week standing over your project cursing up a storm (you'll accomplish just as much). Then, use micro and do it right.
3. Micro doesn't work well either. 

Honestly, I have no idea how to do this simply and effectively. Sometimes it worked, sometimes it didn't. However (on to actual discoveries):
1. Vinylester, when exposed to the sticky side of duct tape, cures with a thin sticky film. This is not necessarily a problem, provided you can remove the film and still have a sealed corner.
2. Wax paper *must* be removed before vinylester fully cures, or you will be sanding it off.
3. Cling wrap: same story. 

Part of why I had so much trouble was that I desperately wanted to do all four corners in one batch, so I was coming up with creative ways to channel micro into all four corners without any spilling out. This was *so* ineffective, I spent a week on it and had to resort to doing one corner per baffle per batch. 

As soon as my baffles were sealed, I floxed them into place in the wing. I had a bit of extra flox, so I went ahead and attached my fuel level sender to the tank wall at the same time. I wasn't worried about making the sender removable, since I'd have to do serious damage to the wing in order to replace it anyway.


My next step was to figure out where to put my drain valve. Had I thought a little more about it, I could have easily built a proper sump into this tank; I've done that for the other side. However, this side has no sump at all, so I had to fill it with water and then use a shop vac to suck water out until I could see where the lowest point was. I then popped the bottom out and floxed my drain valve plate in. I had previously drilled and tapped the aluminum plate, and I positioned it as far down in the foam core as possible to give it the best chance of trapping contaminants and water. (picture was taken after lines were run)


I cut and sanded the top of the tank to shape, used duct tape as a release agent, and floxed it onto the baffles in the same way I did the bottom of the tank. After the flox cured, I removed the top and cut a hole for the filler neck. I'm using a standard 1.5" cam style filler neck, because it's several hundred dollars cheaper than the aircraft version. Also, replacement parts are widely available, as they have been since motorcycles and tractors began using this style filler neck in the who-knows-whens.


I also began running my aluminum lines. The left tank is just a holding/transfer tank, so it only needed a pickup line and a vent/return line. Once the lines were flared/attached/floxed in place (as well as the filler neck), the bottom went back on, this time permanently.


After curing, I filled the tank (as much as I could) with water for a preliminary leak test. After leaving it for half an hour, I saw no evidence of water leaking through the foam cores. I utilized my drain valve to remove the water, then give my tank an extra day in the warm garage to dry out. I noticed a few potential pinholes in one of the side walls, which I promptly spent half an hour deciding whether or not I wanted to fix (with the other option of hoping it wasn't actually a leak presenting a pretty solid case in my head.) While debating with myself, and lamenting that I couldn't pressure test the tank until the top was fixed permanently in place, I came up with a simple way to pressure test spots I wasn't sure about. All it takes is a suction cup. Stick it on, and if it falls off there's a leak. So I picked one up, and started trying my method out. Turns out suction cups won't stick to areas without pinholes, either. The only way I was able to find pinholes was visually. I did find a large number, but patched them without much trouble.

One thing I don't see addressed very clearly is bonding procedures for fueling composite aircraft. As best as I can find, the main concern is that fuel sloshing in composite tanks causes a large amount of static buildup on the surface of the fuel. In order to equalize the charges between the fuel surface and the fueling apparatus, the bonding/grounding strap has to indirectly contact the surface of the fuel. I decided that the aluminum fuel lines, which will be in contact with the surface no matter how much fuel is in the tank, were perfect for bonding. The anodized fittings don't impede the conductivity (surprisingly) so I can just attach a wire to the outside fuel lines and run that wire to a common bonding point.

I also floxed a short piece of fuel line to the top of the tank right next to and visible through the filler neck, which hangs down to the 10 gallon fill level. During the first phase of flight testing, I'll fill the tank to this point to match the 10 gallons the other side holds when full.


 Finally, I floxed the top into place.


I blew compressed air through the vent lines periodically while the flox cured to make sure no extra flox clogged my lines.

After allowing a day for curing, I plugged the lines and performed a pressure test on the tank. Naturally, it failed. I believe the flox began curing before the top was fully in place, and I had 4 places air leaked out, all of them at the top of the tank. However, I still had access to all four points, and was able to mix up a runny micro slurry to pour in and around the leak areas. Further testing revealed no leaks, so I removed the wing and set it aside. I'll follow (mostly) the same procedure for the other side.

Continued in Fuel Tanks (Part 3)